Cookie Baking at Home: How to Prevent Common Failures

Key Takeaways
Cookie baking at home often results in flat or burnt treats. Learn how to fix common failures like incorrect butter temperature and oven hotspots for results.
Cookie Baking at Home: How to Prevent Common Failures
The short answer is that successful cookie baking at home depends on temperature control and ingredient precision rather than just following a basic recipe. Here's why. Most failures, such as cookies spreading into a single thin sheet or turning into hard rocks, are caused by fluctuating oven temperatures and incorrect fat-to-flour ratios. In a home kitchen, especially a smaller studio apartment setup, environmental factors like humidity and limited counter space play a much larger role than most beginners realize.
The Frustration of the Flat Cookie Syndrome
When I first started baking after watching hours of YouTube tutorials, I assumed that if I had the ingredients, I had the result. I lived in a small one-room apartment with a tiny electric oven that barely fit a standard baking sheet. My first few attempts were disastrous. I would pull the tray out only to find that my 12 individual scoops of dough had merged into one giant, greasy rectangle. The edges were burnt to a crisp, while the middle was still raw and translucent.
This is a common experience for those of us living in small spaces. We often lack the professional-grade convection ovens seen in viral videos. Instead, we deal with 'hotspots'—areas in the oven that are significantly hotter than others—and a lack of surface area to let dough rest. The problem isn't necessarily your skill; it is often the lack of understanding of how your specific environment affects the chemistry of baking. Specifically, I found that my kitchen would get incredibly warm while the oven was preheating, which melted my butter before the cookies even touched the heat.
Why Home Baked Cookies Fail: The Root Causes
Understanding why a cookie fails requires looking at the science of the ingredients. In my experience, the most frequent cause of failure is the state of the butter. Many recipes call for 'room temperature' butter, but in a small apartment during a humid summer, room temperature might be 27 degrees Celsius, which is far too soft. Butter for cookies should ideally be around 18–20 degrees Celsius. If it is too warm, it cannot hold the air bubbles created during the creaming process, leading to a total collapse in the oven.
Another major cause is the 'eyeballing' trap. As someone who prefers a casual approach to cooking, I used to think that using a coffee mug to measure flour was fine. It wasn't. A 2022 survey by a leading kitchenware brand found that using volume measurements (cups) can result in up to 20% more flour than intended depending on how tightly it is packed. This extra flour makes cookies dry, crumbly, and flavorless. Furthermore, the lack of an external oven thermometer is a silent killer. Most home ovens are off by 10–15 degrees Celsius from what the dial says. If your oven is too cool, the butter melts before the flour sets, causing the dreaded spread.
The Role of Sugar and Hydration
We often think of sugar only as a sweetener, but in baking, it is a liquid ingredient. When sugar melts, it turns into a syrup. If you use too much white sugar and not enough brown sugar, your cookies will be thin and crunchy. Conversely, using too much brown sugar without enough flour leads to a heavy, wet dough that never quite crisps up. In practice, I discovered that the ratio of white to brown sugar dictates the final texture more than the baking time itself.
Step-by-Step Solutions for Consistent Results
To fix these issues, you need to move away from guesswork and toward a standardized process. Even in a tiny kitchen with limited equipment, these four steps will drastically improve your success rate.
Use a Digital Scale for Everything
Stop using cups and spoons for dry ingredients. A digital scale is the single most important investment for a home baker. Specifically, I started weighing my flour to the gram (usually 125g per cup requested in a recipe). This ensures that every batch has the same structural integrity. When I started weighing my ingredients, the number of 'rock-hard' batches dropped to zero.
Manage Your Butter Temperature
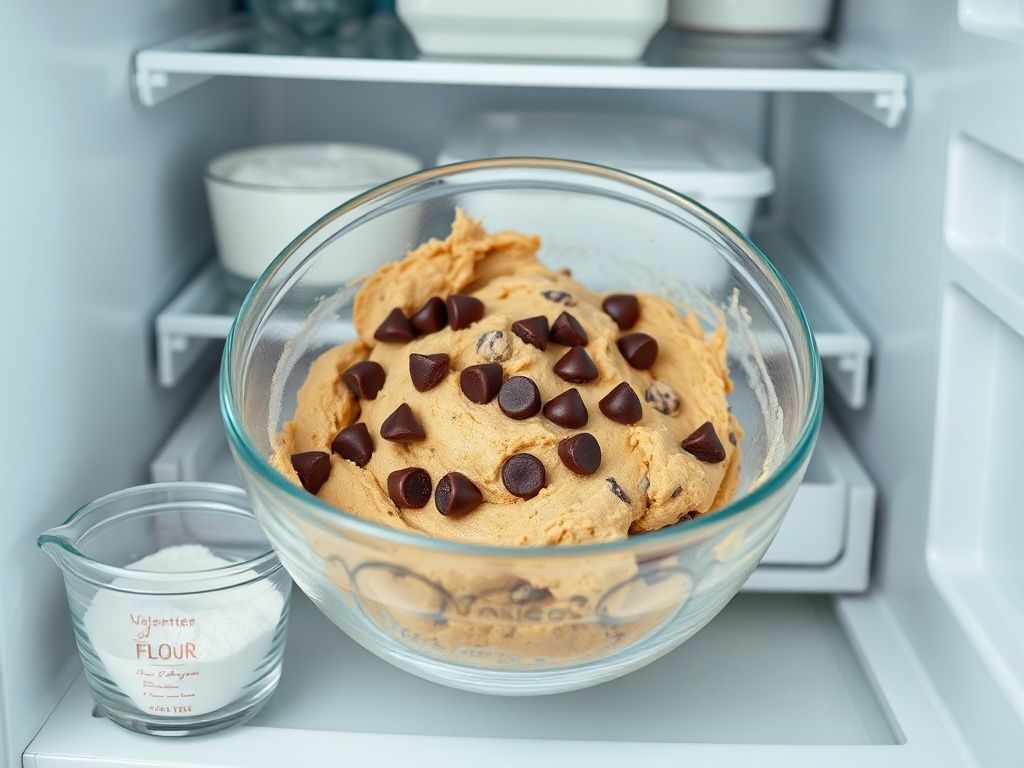
If you can't wait for butter to soften naturally, do not microwave it until it is oily. Instead, cut the butter into 1cm cubes and let them sit for 10 minutes. It should be soft enough to indent with a finger but still feel cool to the touch. If your kitchen is hot, keep the butter in the fridge until 5 minutes before you start. This prevents the fat from separating, which is the primary cause of greasy cookies.
The Mandatory Chill Time
This was the hardest lesson for me to learn because I wanted cookies immediately. However, chilling your dough for at least 30 minutes (and ideally 24 hours) is non-negotiable. Chilling does two things: it solidifies the fat so the cookies spread slower, and it allows the flour to fully hydrate. In my personal observation, a chilled dough produces a deeper, more caramel-like flavor because the enzymes in the flour have time to break down the starches into simple sugars.
Calibrate Your Small Oven
Since you are likely working with a smaller oven, you must learn its quirks. Buy a cheap hanging thermometer to see the actual temperature. For example, I realized my oven was 20 degrees cooler on the left side. To solve this, I now rotate my baking sheet 180 degrees halfway through the 12-minute baking cycle. This ensures even browning across all cookies on the tray.
How to Prevent Future Baking Disasters
Prevention is about creating a repeatable environment. Even if you are a student in a dorm or a single professional in a studio, you can standardize your 'lab' conditions. Always keep your baking sheets at room temperature before placing dough on them; putting cold dough on a hot sheet from a previous batch will cause immediate melting and spreading.
Seasonal Adjustments for Home Bakers
Your baking strategy must change with the weather. During the humid summer months, flour actually absorbs moisture from the air. You might need to add an extra 10–15g of flour to maintain the same dough consistency you had in the winter. In the winter, the air is dry, and your kitchen might be cold, meaning your butter will take much longer to soften. I recommend keeping a small notebook to track these changes. For example, note down if the dough felt stickier than usual on a rainy day.
Essential Tips for Small Kitchen Success
- Always use parchment paper or a silicone mat; it prevents sticking and provides a slight barrier against the intense bottom heat of small ovens.
- Bake only one tray at a time. In small ovens, crowding the space prevents hot air from circulating, leading to unevenly cooked centers.
- Use a standard scoop (about 30g of dough) to ensure every cookie is the same size and finishes baking at the same time.
- Check your leavening agents. Baking soda and powder lose their potency after 6 months. If your cookies aren't rising, this is likely the culprit.
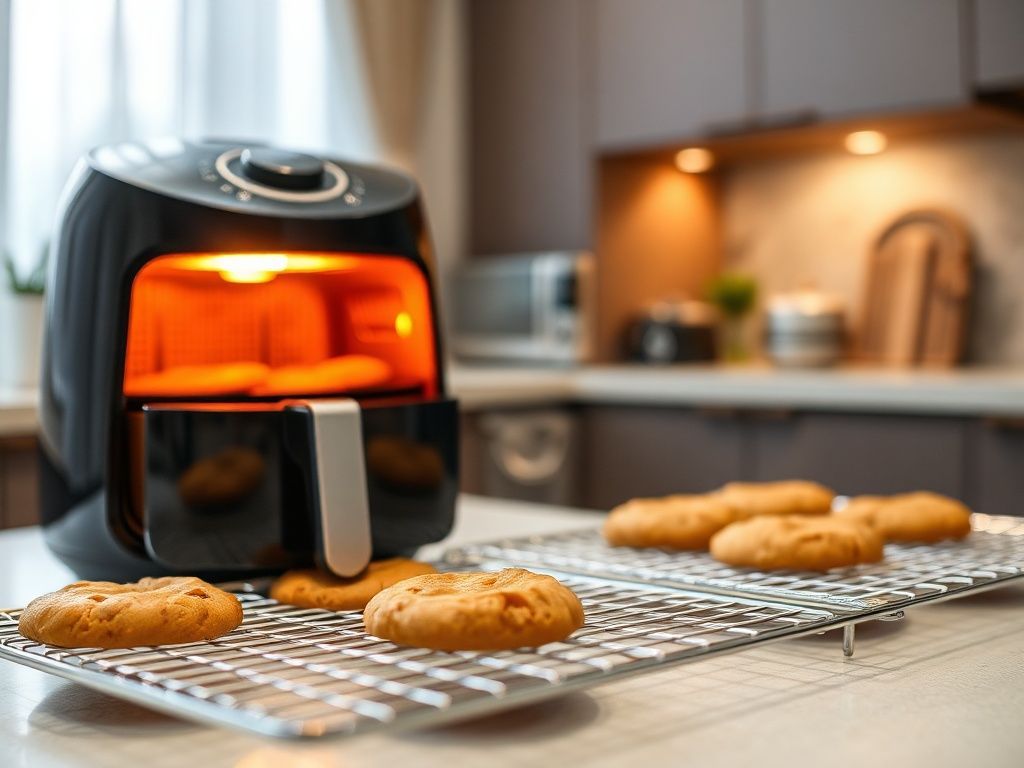
- Invest in baking essentials like a cooling rack. Leaving cookies on a hot pan for too long will overcook the bottoms.
- Maintain kitchen organization by prepping all ingredients (mise en place) before you start. This prevents the butter from getting too warm while you hunt for the salt.
- Warning: Never over-mix the dough after adding the flour. Mixing for more than 30–45 seconds develops gluten, which turns a tender cookie into a tough, bread-like disk.
- Warning: Do not trust the 'timer' on a cheap oven. Always set a separate timer on your phone and start checking the cookies 2 minutes before the recipe says they should be done.
Conclusion
Baking cookies at home is a science that rewards patience and precision over speed. By moving away from the 'eyeballing' method and respecting the temperature of your ingredients, you can achieve bakery-quality results even in a cramped kitchen. Remember that the environment—your oven's hotspots, the humidity of the room, and the temperature of your butter—is just as important as the recipe itself.
To summarize, keep these three points in mind: use a digital scale to eliminate measurement errors, always chill your dough for at least 30 minutes to control spread, and use an external thermometer to master your oven's true heat.
Your specific action to take today: Purchase a digital kitchen scale and an oven thermometer. These two tools alone will solve 80% of the common cookie failures you encounter.
Previous
Korean Gukbap Recipes for Healthy Dieting at Home
Next
Cookie Baking at Home: How to Prevent Common Failures
More in Recipes

Tofu Kimchi Recipe: Quick Ways to Use Fridge Leftovers
Learn a simple Tofu Kimchi recipe to clear out your fridge. Discover freezer-friendly meal prep tips, common beginner mistakes, and quick cleanup hacks.

Vegetarian guest hosting recipes you can prep on weekends
Vegetarian guest hosting recipes made easy. Learn how to prep plant-based dishes on weekends, freeze them safely, and master smart ingredient substitutions.

How to Bake Bread in a Small Kitchen with Minimal Cleanup
Learn how to bake homemade bread in a small kitchen with minimal cleanup. This guide covers no-knead methods, diet-friendly tips, and office lunch ideas.

Fridge Clearing Recipes for Small Kitchens: Solo Living Guide
Learn fridge clearing recipes designed for small kitchens. Save money and reduce waste with one-pan methods and easy ingredient substitutions for solo living.