Homemade Donuts: A Beginner's Guide to Post-Haejang-guk Comfort

Key Takeaways
Craving comfort after a hearty haejang-guk? Learn to make delicious homemade donuts easily. This beginner-friendly guide shares simple steps, tips, and common pitfalls.
Homemade Donuts: A Beginner's Guide to Post-Haejang-guk Comfort
The short answer is yes, making delicious donuts at home is absolutely achievable for beginner cooks. Here's why you don't need to be a pastry chef to pull off this satisfying treat, even when your palate is leaning towards something robust and savory like a hearty haejang-guk, and you still want a simple, comforting dessert. Homemade donuts offer a unique, deeply satisfying sweetness that can balance out the richest savory flavors, and they're far less intimidating to create than you might think.
The Unlikely Pairing: A Story of Comfort Food Cravings
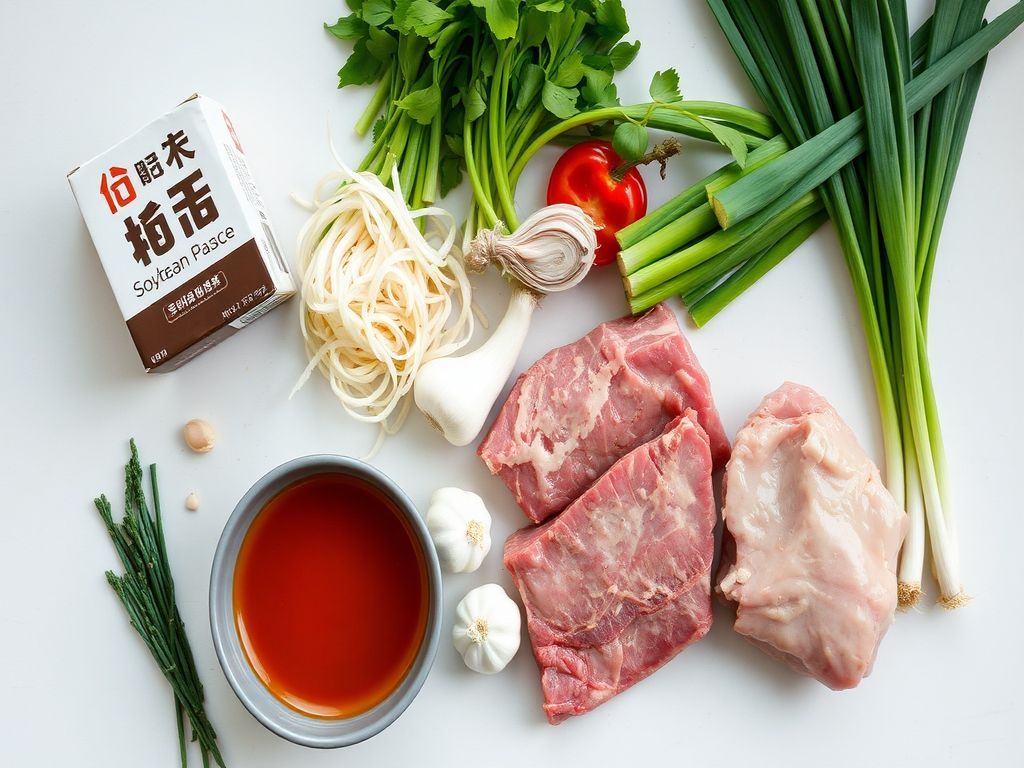
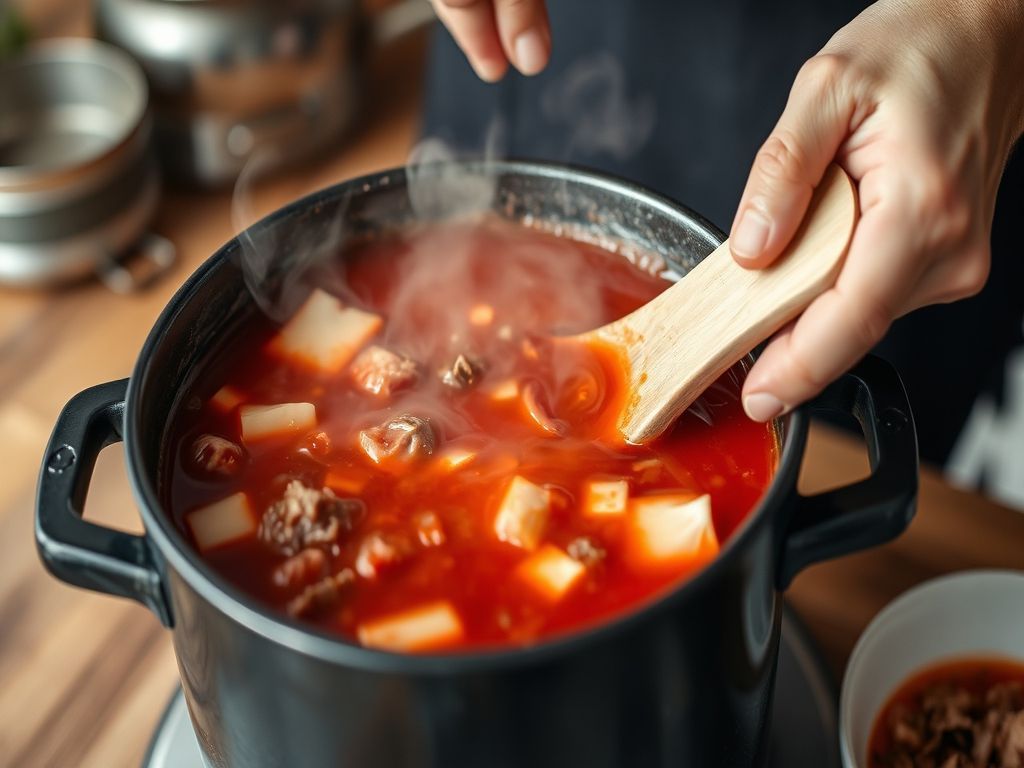
I've lived solo for eight years now, and in that time, my cooking journey has been less about culinary ambition and more about survival, spiced with occasional attempts at something beyond basic pasta. There have been many evenings when I've found myself staring into the fridge, brain a little fuzzy from a long day, or perhaps a long night. On those occasions, the thought of a complex meal, something truly restorative and savory like a perfectly made haejang-guk, often crossed my mind. The idea of simmering beef bones for hours, prepping all the vegetables, and carefully layering the flavors felt monumental. It sounded amazing, truly, but the effort? That was a bridge too far more often than not. I've abandoned complicated recipes halfway through before, leaving a trail of half-chopped ingredients and a rapidly cooling saucepan in my wake.
One particularly chilly Saturday morning, after one of those 'long nights' that left me craving something deeply comforting but utterly simple, the haejang-guk dream was firmly out of reach. My body needed warmth and solace, but my mind definitely wasn't up for a culinary marathon. I considered ordering in, but then a different kind of craving hit: something sweet, soft, and utterly indulgent. Not a fancy pastry from a cafe, but something homemade, something that smelled of warmth and sugar. Donuts. The very idea seemed daunting at first. Deep-frying? Yeast dough? My past self would have scoffed. But then I remembered a friend mentioning how surprisingly easy basic yeast donuts were, and my 'simplest version that actually tastes decent' philosophy kicked in. I figured, if I could barely manage to boil water sometimes, surely I could handle a donut dough that promised to be forgiving. It was a leap of faith, spurred by a desperate need for comfort food that wasn't going to demand hours of my precious, recovering energy. The contrast between the elaborate, savory haejang-guk I fantasized about and the simple, sweet donut I was actually going to attempt became a perfect representation of my approach to cooking: find the easiest path to genuine satisfaction. And let me tell you, that first batch of warm, sugar-dusted donuts was a revelation. It was the perfect sweet counterpoint to the *idea
- of a rich, savory meal, proving that sometimes, the simplest efforts yield the most profound comfort.
Why Are Homemade Donuts Easier Than You Think?
Many beginner cooks shy away from anything involving yeast or deep-frying, imagining complex techniques and dangerous hot oil. However, in my experience, making donuts at home is significantly more straightforward than many other baking projects. The key insight I gained is that yeast doughs for donuts are often quite forgiving, and deep-frying, while it requires attention, isn't inherently difficult. It's about following a few basic rules, not mastering a high-level skill.
Here's why you shouldn't be intimidated:
- Simple Ingredients: You likely have most, if not all, the ingredients in your pantry right now: flour, sugar, yeast, milk, eggs, butter, salt. Nothing exotic or hard to find.
- Forgiving Dough: Unlike delicate pastries, donut dough is quite robust. It tolerates a bit of over-mixing (though don't go overboard!) and is generally easy to handle. Even if it's not perfectly smooth, your donuts will still taste good.
- Hands-On Learning: The process of kneading dough, watching it rise, and frying it is incredibly tactile and rewarding. It's a great way to build confidence in the kitchen without needing a culinary degree.
- Instant Gratification: Doughnuts fry quickly, meaning you go from dough to delicious treat in mere minutes once the oil is hot. The smell alone is half the reward.
- Customization: Once you have a basic donut, the world is your oyster. Glazes, cinnamon sugar, chocolate, sprinkles – you can make them exactly how you like, without needing a complicated recipe for each variation. This adaptability makes them ideal for satisfying diverse cravings, whether you're looking for something plain and simple or a burst of sweetness.
Mastering the Art of Simple Donuts: Your Step-by-Step Guide
Making donuts at home doesn't require specialized equipment or advanced techniques. My philosophy is always about getting the best result with the least fuss. This recipe is designed for maximum simplicity and maximum deliciousness, making it perfect for anyone, especially when you're seeking a comforting treat without a massive culinary investment.
Essential Ingredients
- All-purpose flour: 3 cups (about 360g), plus extra for dusting
- Granulated sugar: 1/2 cup (100g)
- Active dry yeast: 2 and 1/4 teaspoons (one standard packet)
- Warm milk: 1 cup (240ml), warmed to about 105–115°F (40–46°C)
- Large egg: 1, at room temperature
- Unsalted butter: 1/4 cup (56g), melted and slightly cooled
- Salt: 1 teaspoon
- Vegetable oil or canola oil: 6–8 cups, for frying (enough to fill your pot to about 3 inches deep)
For the Simple Glaze (Optional, but highly recommended)
- Powdered sugar: 2 cups (240g)
- Milk or water: 3–4 tablespoons
- Vanilla extract: 1/2 teaspoon
Step-by-Step Instructions
Activate the Yeast: In a large bowl, combine the warm milk, 1 tablespoon of the sugar, and the active dry yeast. Stir gently and let it sit for 5–10 minutes until foamy. This shows your yeast is alive and ready to work. If it doesn't foam, your milk might have been too hot or too cold, or the yeast is old. Start over.
Combine Wet Ingredients: Add the remaining granulated sugar, egg, melted butter, and salt to the yeast mixture. Whisk until well combined.
Add Flour: Gradually add the flour, about 1 cup at a time, mixing with a wooden spoon or a stand mixer with a dough hook until a shaggy dough forms. Once all the flour is incorporated, turn the dough out onto a lightly floured surface.
- Common Mistake 1: Over-flouring. Resist the urge to add too much extra flour during kneading. A slightly sticky dough is normal and will result in softer donuts. Use just enough flour to prevent sticking.
Knead the Dough: Knead the dough for 5–8 minutes until it's smooth and elastic. If using a stand mixer, knead on low speed for 4–6 minutes. The dough should spring back slowly when poked. In my experience, this isn't a precision science; just aim for a texture that feels cohesive and less sticky.
First Rise: Lightly grease a clean bowl with a little oil. Place the dough in the bowl, turning it once to coat. Cover the bowl with plastic wrap or a clean kitchen towel and let it rise in a warm place for 1–2 hours, or until doubled in size. This can take longer in a colder kitchen. A good spot is often a slightly warm oven (turned off, of course!) or near a sunny window.
Shape the Donuts: Gently punch down the risen dough to release the air. Turn it out onto a lightly floured surface. Roll the dough to about 1/2 inch thickness. Use a 3-inch donut cutter or two different sized round cutters (one for the outer ring, one for the center hole) to cut out your donuts. Gather and re-roll scraps once to cut out more donuts, but don't overwork the dough.
Second Rise: Place the cut donuts and donut holes onto parchment-lined baking sheets, leaving about 1 inch between each. Cover loosely with plastic wrap or a clean towel and let them rise again for 30–45 minutes, or until visibly puffy. This second rise is crucial for a light, airy texture.
Prepare for Frying: While the donuts are rising, set up your frying station. In a large, heavy-bottomed pot or Dutch oven, pour in enough oil to reach a depth of about 3 inches. Attach a deep-fry thermometer to the side of the pot. Heat the oil over medium heat to 350–375°F (175–190°C).
- Common Mistake 2: Incorrect Oil Temperature. This is critical. If the oil is too cold, the donuts will absorb too much oil and be greasy. If it's too hot, they'll brown too quickly on the outside and be raw in the middle. Use a thermometer and adjust heat as needed.
Fry the Donuts: Carefully lower 2–3 donuts into the hot oil using a slotted spoon or spider. Don't overcrowd the pot, as this will drop the oil temperature and lead to greasy donuts. Fry for 1–2 minutes per side, until golden brown. Use the slotted spoon to flip them gently. Donut holes will cook even faster, about 30–60 seconds per side.
Drain and Cool: Once golden, remove the donuts from the oil and place them on a wire rack set over paper towels to drain excess oil. Let them cool for about 5 minutes before glazing or sugaring.
Glaze (Optional): While the donuts are still warm but not hot, whisk together the powdered sugar, milk/water, and vanilla extract in a shallow bowl until smooth. Dip each donut into the glaze, letting any excess drip off, then place back on the wire rack. For a thicker glaze, you can double-dip after the first layer sets slightly. In my experience, a simple glaze is often the best. It lets the donut itself shine.
Tips for Success
- Patience is Key: Yeast doughs need time to rise. Don't rush the process, especially the first and second rises. Good things come to those who wait.
- Temperature Matters: Ensure your milk is the right temperature for activating yeast, and your oil is consistently within the 350–375°F range for frying. This isn't just a suggestion; it's a rule for good donuts.
- Don't Overcrowd: Frying in batches is essential for maintaining oil temperature and ensuring even cooking. Trying to cram too many in at once will ruin the texture.
- Consider a Thermometer: A deep-fry thermometer is a small investment that makes a huge difference. You can find one for under $15 at most kitchen stores, and it saves a lot of guesswork.
- Experiment with Toppings: Beyond the simple glaze, consider tossing warm donuts in cinnamon sugar, dusting with powdered sugar, or drizzling with melted chocolate. For example, a dusting of finely ground cinnamon sugar (1/2 cup sugar to 1 teaspoon cinnamon) immediately after frying is a classic and easy alternative. Another option is a simple vanilla bean glaze for a more sophisticated, yet still easy, finish. You could even try a maple glaze by substituting some of the milk in the glaze with maple syrup.
Warnings and Common Pitfalls
- Under-proofed Dough: If your donuts don't rise enough, they'll be dense and heavy. Give them the full time they need, especially in a cooler kitchen. This is a common beginner mistake, and one I've made by trying to rush things.
- Over-proofed Dough: While less common for beginners, dough that rises too much can collapse during frying, resulting in flat, greasy donuts. Watch for the 'doubled in size' visual cue rather than strictly adhering to time if your kitchen is very warm.
- Smoking Oil: If your oil starts smoking, it's too hot! Immediately remove it from the heat, let it cool down, and then slowly bring it back up to the correct temperature. Smoking oil can affect the flavor of your donuts and is a fire hazard. In my own cooking journey, I've found that keeping a close eye on the thermometer prevents this entirely.
Making Donuts at Home: A Satisfying Seasonal Treat
When the weather turns colder, and the days shorten, our bodies naturally crave warmth and comfort. While a simmering pot of haejang-guk brings a savory, spicy solace, the sweet, tender bite of a homemade donut offers a different kind of seasonal comfort. It's the kind of treat that brightens a gloomy afternoon or makes a slow weekend morning feel special. Whether you're making them for a cozy family brunch or just for yourself after a particularly trying week, these simple homemade donuts are a testament to the fact that you don't need to be a gourmet chef to create truly satisfying food. They're a perfect example of easy breakfast pastries that deliver big on flavor for minimal fuss. For more ideas on how to tackle simple frying techniques, or to expand your repertoire, check out our guide on [simple frying techniques] or explore more [baking for beginners guide] recipes. The initial satisfaction of that first bite of a warm, fresh donut, still slightly crispy on the outside and wonderfully soft within, is simply unparalleled. It’s a small victory in the kitchen that feels monumental.
Conclusion: Your Donut Journey Starts Today
Making donuts at home might seem like a grand culinary adventure, but as I've found, it's remarkably accessible and incredibly rewarding. To recap three key takeaways:
Simplicity is Your Friend: Don't let the idea of yeast or deep-frying deter you. This recipe uses basic ingredients and straightforward steps that any beginner can follow.
Temperature Control is King: Using a thermometer for your frying oil is the single most important tip for achieving perfectly cooked, non-greasy donuts.
Comfort Comes in Many Forms: Whether you're craving the hearty depth of haejang-guk or the sweet indulgence of a donut, the most satisfying meals are often those made with a little effort and a lot of heart, especially the simple ones. So, what's one specific action you can take today? Gather your ingredients and commit to trying this recipe this weekend. You'll be amazed at how easily you can transform simple pantry staples into a batch of warm, delicious donuts. Trust me, the aroma alone is worth the effort, and the taste will make you wonder why you didn't start sooner.
Previous
Healthy Smoothie Recipes for Vegetarians: Quick Blends
Next
Homemade Donuts: A Beginner's Guide to Post-Haejang-guk Comfort
More in Recipes

Doenjang Recipe Variations for Large-Scale Vegetarian Meal Prep
Learn how to use fermented soybean base in bulk vegetarian cooking. We cover storage, flavor balancing for picky kids, and large-scale meal prep strategies.

Tteokguk Recipe: How to Make Korean Rice Cake Soup for One
Learn how to make Tteokguk, the classic Korean rice cake soup. This guide compares quick solo-friendly methods with traditional beef broth recipes for home cooks.

Weekly Lunch Box Side Dishes: A Planning Guide for Solo Diners
Learn how to plan and prep weekly lunch box side dishes for one. Discover strategies for variety, food safety, and efficiency to save time and reduce waste.

Healthy Bulgogi Recipe: Best Ingredient Substitutes for Better Nutrition
Learn how to make healthy bulgogi with our comprehensive guide on ingredient substitutions. Compare beef cuts, sweeteners, and sodium options for better nutrition.