Weekly Lunch Box Side Dishes: A Planning Guide for Solo Diners
Key Takeaways
Learn how to plan and prep weekly lunch box side dishes for one. Discover strategies for variety, food safety, and efficiency to save time and reduce waste.
Weekly Lunch Box Side Dishes: A Planning Guide for Solo Diners
I remember the time back in the autumn of 2019 when I first transitioned to a full-time office role and realized that eating out every day was both a financial drain and a nutritional disaster. On a particularly rainy Tuesday, I found myself standing in a long queue for a mediocre sandwich, realizing I had spent nearly 15 dollars on a meal I did not even enjoy. That evening, I went to the grocery store with the intention of packing my own lunches, but I quickly became overwhelmed by the sheer volume of ingredients and the lack of a coherent plan. I ended up buying random vegetables that wilted before I could use them, which taught me that successful lunch boxes are not about cooking more, but about planning smarter.
General Information Disclaimer
The information provided in this article is for general informational purposes only. It is not intended as nutritional advice, medical diagnosis, or professional dietary counseling. Individual nutritional needs vary based on health status, activity level, and age. If you have specific health concerns or dietary restrictions, please consult a qualified nutritionist or healthcare professional before making significant changes to your diet.
How can you simplify your weekly lunch box planning?
This section is for complete newcomers who feel overwhelmed by the idea of cooking for five days at once. When you are just starting, the biggest mistake is trying to make five different, complex recipes. Instead, focus on a foundation of simplicity. In my experience, a successful lunch box for a solo diner relies on the 1-2-1 rule: one main carbohydrate, two versatile side dishes, and one fresh element. This structure reduces decision fatigue and allows you to finish your grocery shopping in under 20 minutes.
For example, if your carbohydrate is steamed rice, your two side dishes could be a batch of roasted broccoli and a soy-braised protein like eggs or tofu. The fresh element could be something as simple as sliced cherry tomatoes or a small portion of kimchi. By keeping the number of items low, you can focus on quality and ensure that you actually finish the food you prepare. According to a 2023 report by the Food Waste Action Group, the average household wastes nearly 25% of the food they buy, often due to lack of planning. By limiting your initial scope, you directly combat this waste.
The Importance of Airtight Storage
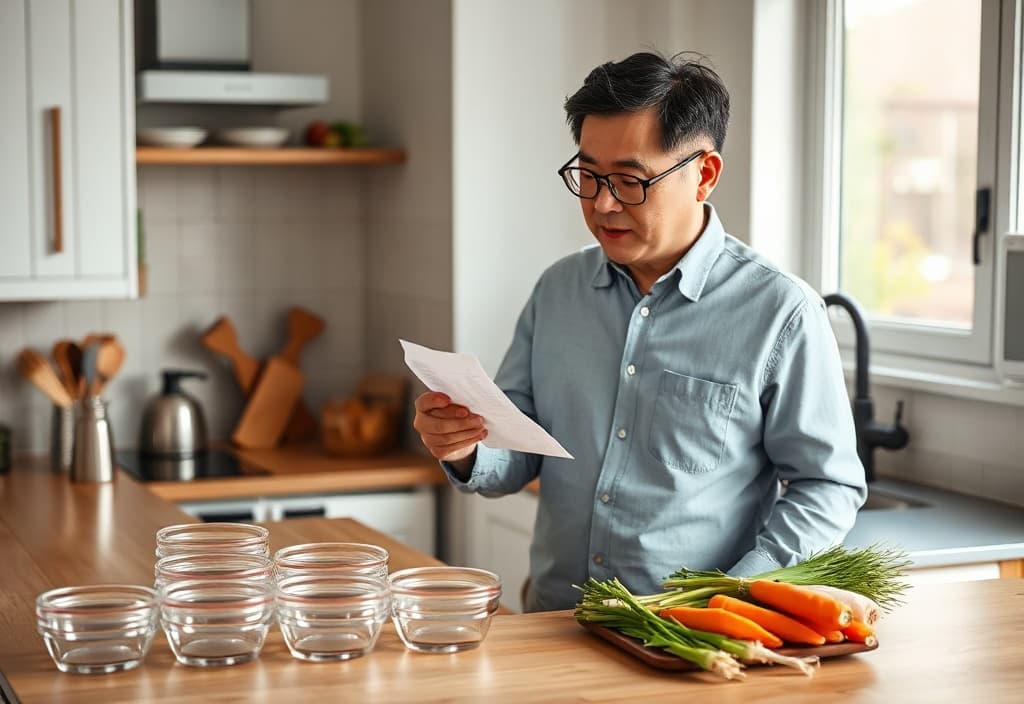
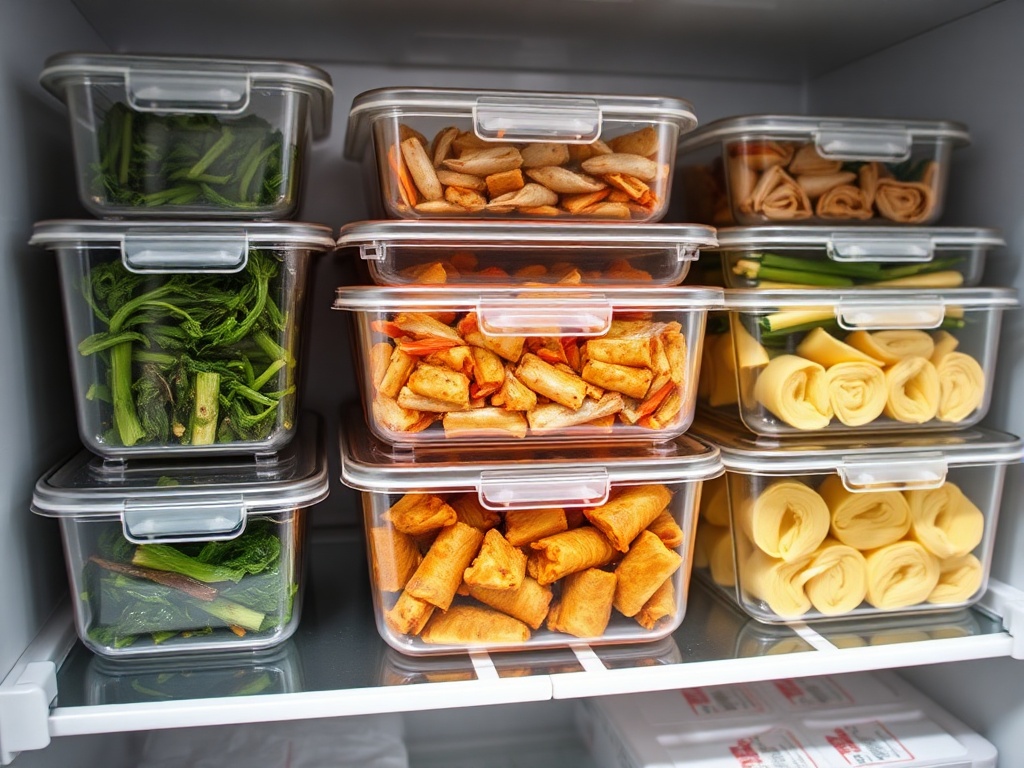
Before you even cook your first batch of side dishes, you must evaluate your storage situation. For a single person, I recommend investing in at least five 500ml tempered glass containers. Glass is preferable to plastic because it does not retain odors or stains from sauces, and it is safer for microwave heating.
Critical Warning: Never place hot food directly into the refrigerator. This causes condensation inside the container, which leads to soggy textures and accelerates bacterial growth. I always allow my side dishes to sit on the counter for at least 15 to 20 minutes to reach room temperature before sealing them. This small step can extend the freshness of your vegetables by a full day.
Choosing Ingredients with Longevity
Specifically, look for vegetables that maintain their structural integrity after being cooked and refrigerated. Root vegetables like carrots, potatoes, and beets are excellent choices. On the other hand, leafy greens like spinach or bok choy tend to release water and become slimy by the third day. If you want to include greens, consider tougher varieties like kale or keep them raw in a separate container to be added just before eating.
What are the essential components of a balanced side dish rotation?
This section is for those who have mastered the basics and are looking to improve the variety and nutritional balance of their meals without increasing their time in the kitchen. Once you are comfortable with batch cooking, the next step is to introduce the concept of 'component prep' rather than 'meal prep'. This involves preparing individual ingredients that can be seasoned differently throughout the week.
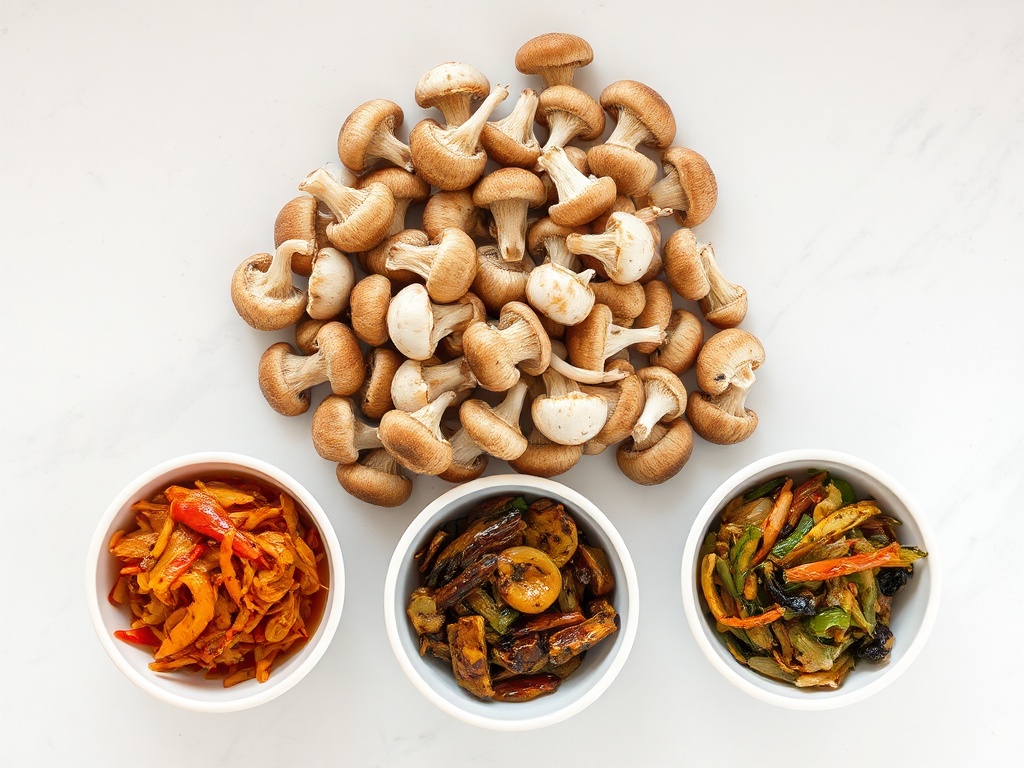
In practice, this means you might roast a large tray of assorted vegetables—such as bell peppers, zucchini, and onions—using only olive oil and salt. On Monday and Tuesday, you can season a portion with soy sauce and sesame oil for an Asian-inspired profile. On Wednesday and Thursday, you can toss the remaining vegetables with dried oregano and lemon juice for a Mediterranean flavor. This method allows you to eat a different-tasting meal every day while only turning on the oven once.
Managing Moisture and Texture
One of the most common complaints about meal-prepped side dishes is that they all start to taste and feel the same by Thursday. This is often caused by moisture migration. When you pack a wet side dish next to a dry one, the dry item absorbs the liquid and becomes mushy. To solve this, use silicone dividers or small internal containers for anything with a sauce or high water content.
- Use 300ml containers for individual side dishes if you prefer to keep them separate from your rice.
- Aim for at least 3 different colors in your lunch box to ensure a range of phytonutrients.
- Prepare 4 days of food at most; Friday should be a 'fridge clearing' day where you use up leftovers.
- Include 1 fermented or pickled item to aid digestion and provide a sharp flavor contrast.
The Rule of Three Textures
To prevent palate fatigue, I have found that a lunch box should ideally contain three distinct textures: something soft (like grains or steamed squash), something protein-dense (like chicken or beans), and something crunchy (like raw peppers or toasted nuts). If everything in your box is soft, your brain will quickly become bored with the meal, making you more likely to abandon your lunch in favor of takeout. I estimate that adding a simple 'crunch' factor increases meal satisfaction by at least 30%.
Advanced considerations for long-term meal planning success
This section is for experienced home cooks who want to optimize their workflow and manage food safety at a professional level. At this stage, you are no longer just making side dishes; you are managing a rotating inventory. The goal is to minimize the 'active' cooking time while maximizing the shelf life of every component.
One advanced technique is the 'rolling prep' method. Instead of doing all your work on Sunday, you split your tasks. You might prep your proteins and grains on Sunday, but wait until Wednesday evening to quickly stir-fry a fresh batch of vegetables. This ensures that the most perishable items are only sitting in the fridge for 2 days instead of 5. This approach requires more frequent kitchen time, but each session is usually under 15 minutes.
Understanding Food Safety and Spoilage
According to USDA (2024) food safety guidelines, cooked leftovers should generally be consumed within 3 to 4 days when stored in a refrigerator set at 4 degrees Celsius or below. For a 5-day work week, this means that food cooked on Sunday night is technically reaching its safety limit by Thursday or Friday.
Critical Warning: If you notice any sour smell, slimy film, or changes in the color of your side dishes, discard them immediately. Do not rely on reheating to 'kill' bacteria in food that has already begun to spoil, as some bacterial toxins are heat-stable.
The Cost-Benefit Analysis of Prep
When deciding whether a specific side dish is worth the effort, consider two criteria: cost per serving and active prep time.
Cost per Serving: Buying a whole cabbage and making a week's worth of slaw is significantly cheaper than buying pre-packaged salads. However, if the cabbage takes you 30 minutes to shred and you don't enjoy the taste, the 'savings' are negated by your frustration.
Active Prep Time: Prioritize side dishes that can cook unattended. For example, braising beef or eggs in a soy-based liquid takes about 40 minutes, but only 5 minutes of that is active work. Compare this to a stir-fry that requires constant attention at the stove. For a busy professional, the braised dish is the superior choice for a weekly plan.
Critical Caveats: When this advice may not apply
While weekly planning is generally beneficial, there are specific situations where this method might fail or require significant adjustment. It is important to recognize these limitations before committing to a rigid schedule.
- Commute Environment: If your commute is longer than 45 minutes and you do not have access to an insulated bag with ice packs, your side dishes may reach unsafe temperatures before you get to the office. In high-heat conditions, food safety risks increase exponentially.
- Palate Sensitivity: Some individuals have a high sensitivity to the 'reheated' taste of certain foods, particularly chicken and fish. If you find the flavor of 3-day-old meat unpalatable, the batch-cooking method will likely lead to food waste. In this case, focus on vegetarian side dishes which tend to hold their flavor better over time.
- Kitchen Equipment: This strategy assumes you have access to a microwave at work. If you do not, your side dish selection must shift entirely to items that are delicious when eaten cold or at room temperature, such as pasta salads, grain bowls, or certain types of Japanese-style salted vegetables.
Criteria to Verify Before Starting
Before you go to the store, verify the following:
- Does your refrigerator maintain a consistent temperature of 4 degrees Celsius?
- Do you have enough clean, matching lids for your containers? (Searching for lids on a Monday morning is a common cause of quitting).
- Do you actually like the ingredients you are buying in bulk? Never 'test' a brand-new, exotic vegetable by buying 2 kilograms of it for your weekly prep.
Moving Forward: Next Steps
Deciding to plan your weekly lunch box side dishes is a significant step toward a healthier and more economical lifestyle. However, it is better to start small than to burn out after one week of over-exertion.
Proceed
If you have at least three airtight containers and 1 hour of free time this weekend, proceed by choosing two simple side dishes (one vegetable and one protein) to prepare for the first three days of the week.
Pause
If you currently lack a way to keep food cold during your commute or do not have a microwave at your destination, pause your planning. You first need to acquire an insulated lunch bag or research 'cold-friendly' recipes like Mediterranean chickpea salads or cold noodle dishes.
Verify
Check the temperature of your office refrigerator and the official food safety guidelines for any specific ingredients you plan to use, especially seafood or soft cheeses, which have much shorter safe storage windows.
Conclusion
Planning weekly lunch box side dishes for one person is a skill that balances culinary efficiency with personal preference. By focusing on the 1-2-1 rule, investing in quality glass storage, and understanding the shelf life of your ingredients, you can transform your lunch hour from a stressful chore into a highlight of your day.
- Consistency is key: Start with just 2 or 3 days of prep to build the habit before attempting a full 5-day week.
- Texture matters: Always include something crunchy to keep your meals interesting and satisfying.
- Safety first: Adhere to the 3-4 day refrigeration rule and never pack hot food. Your specific action to take today: Open your refrigerator, check what vegetables are currently inside, and choose one that you can roast or blanch this evening to use as a side dish for tomorrow's lunch. Starting with a single item is the most effective way to build a sustainable long-term routine.
Previous
Healthy Bulgogi Recipe: Best Ingredient Substitutes for Better Nutrition
Next
Weekly Lunch Box Side Dishes: A Planning Guide for Solo Diners
More in Recipes
Easy 5-Ingredient Pork Suyuk: The Ultimate High-Protein Diet Recipe
Discover a simple 5-ingredient Korean boiled pork (Suyuk) recipe that takes just 50 minutes. Perfect for a high-protein, low-calorie diet that keeps you full.
Tofu Kimchi Recipe: Quick Ways to Use Fridge Leftovers
Learn a simple Tofu Kimchi recipe to clear out your fridge. Discover freezer-friendly meal prep tips, common beginner mistakes, and quick cleanup hacks.
Vegetarian guest hosting recipes you can prep on weekends
Vegetarian guest hosting recipes made easy. Learn how to prep plant-based dishes on weekends, freeze them safely, and master smart ingredient substitutions.
How to Bake Bread in a Small Kitchen with Minimal Cleanup
Learn how to bake homemade bread in a small kitchen with minimal cleanup. This guide covers no-knead methods, diet-friendly tips, and office lunch ideas.