How to Bake Bread in a Small Kitchen with Minimal Cleanup

Key Takeaways
Learn how to bake homemade bread in a small kitchen with minimal cleanup. This guide covers no-knead methods, diet-friendly tips, and office lunch ideas.
How to Bake Bread in a Small Kitchen with Minimal Cleanup
The short answer is that you can bake high-quality, bakery-style bread in a small studio apartment using just one bowl and a single loaf pan. Here's why: traditional baking often emphasizes heavy kneading on large countertops, but the no-knead method relies on time and hydration to develop gluten naturally. This approach eliminates the need for expensive stand mixers, saves precious counter space, and significantly reduces the amount of washing up required after you finish.
In my experience, the biggest barrier to baking at home isn't a lack of skill; it's the perceived mess and the equipment required. When you are living in a small space, you have to be strategic about every bowl and utensil you use. By adjusting the hydration levels and allowing the dough to rest for longer periods, you can achieve a professional-grade loaf that fits perfectly into a healthy diet and a busy work-week schedule.
Disclaimer: This article provides general information regarding food preparation and nutrition. It is not intended as medical advice, dietary counseling, or professional culinary training. If you have specific health conditions or dietary restrictions, please consult with a qualified healthcare professional or nutritionist.
The Reality of Baking in a Limited Space
I understand the frustration of trying to cook in a kitchen where the sink is full after just one meal and the 'countertop' is barely large enough for a cutting board. It is easy to feel judged by elaborate social media recipes that feature marble islands and three different types of mixing attachments. In a small apartment, baking often feels like a recipe for disaster—flour on the floor, sticky dough on the faucet, and no room to let anything rise.
Why is it actually hard? The primary challenge is the physical space required for traditional kneading. Most recipes ask you to clear a large area, dust it with flour, and work the dough for 10–15 minutes. In a small kitchen, this usually means moving your microwave or toaster just to find a flat surface. Furthermore, the cleanup of a sticky countertop can take longer than the baking itself. This is why many beginners give up before they even start.
Another challenge is temperature control. Small apartments can fluctuate in temperature more than larger homes, especially if you are cooking other meals or using a small heater. Since yeast is a living organism, these fluctuations can make your rising times unpredictable. However, once you understand how to work with these constraints rather than against them, baking becomes a rewarding weekend ritual rather than a chore.
Achieving Results with Minimal Equipment
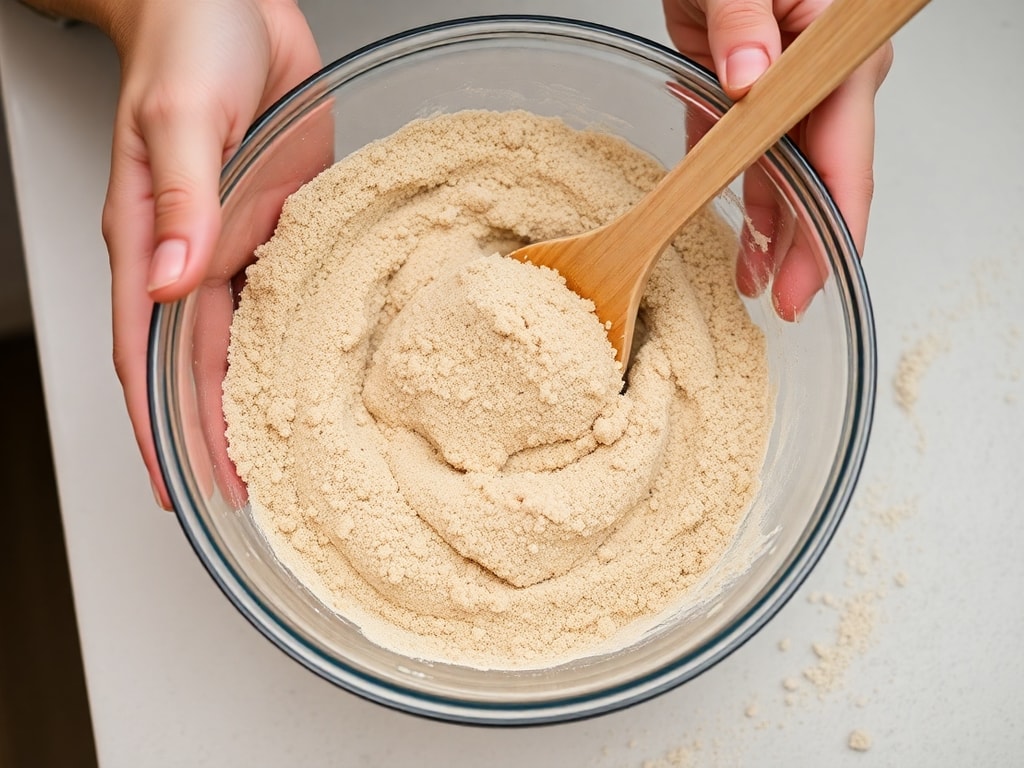
To keep the cleanup to a minimum, I use a 'one-bowl' strategy. This means every stage of the process—mixing, first rise, and shaping—happens in or over a single large glass bowl. This reduces the number of items that need to be scrubbed in a small sink.
The No-Knead Strategy
The no-knead method is a game-changer for apartment dwellers. Instead of physical labor, we use 12–18 hours of time to let the gluten develop. This is perfect for the 'weekend cook' persona. You can mix the dough on Friday night in about 5 minutes, let it sit overnight, and bake it on Saturday morning.
- Weight vs. Volume: I highly recommend using a digital scale. Measuring flour by the cup is inaccurate and often leads to dry, heavy bread. A standard loaf uses about 300g to 400g of flour.
- Hydration Levels: For a small kitchen, a hydration level of 65–70% is ideal. This means if you use 400g of flour, you use 260ml to 280ml of water. This creates a dough that is easy to handle without sticking to everything.
- The Proofing Box Hack: If your apartment is cold, you can turn your microwave (turned off) or your oven (turned off, but with the light on) into a proofing box. This keeps the dough at a consistent temperature and away from drafts.
Ingredient Selection for Health and Taste
For those looking to apply this to a diet, home baking offers total control. Store-bought white bread often contains 2g to 4g of added sugar per serving and various preservatives to extend shelf life. When I bake at home, I use simple, high-quality ingredients that I can find at any local grocery store.
Specifically, I often replace 20% of the white bread flour with whole wheat flour. This adds fiber and a nutty flavor without making the bread too dense for a beginner to handle. For example, a mix of 320g bread flour and 80g whole wheat flour provides a great balance of nutrition and texture. I also substitute refined sugar with a small amount of honey or simply omit the sweetener entirely, as the long fermentation process naturally brings out the sweetness of the grain.
Step-by-Step Low-Mess Method
This process is designed to result in exactly one loaf of bread with the least amount of friction possible.
Mix (Night Before): In a large bowl, combine 400g bread flour, 8g salt, and 2g active dry yeast. Add 280ml of room-temperature water. Stir with a sturdy spoon until no dry flour remains. This should take about 2 minutes.
The First Rise: Cover the bowl with a reusable silicone lid or plastic wrap. Leave it on your counter for 12–15 hours. The dough will double in size and look bubbly.
Shaping (Morning Of): Instead of flouring your counter, lightly oil your hands. Gently fold the dough over itself 4–5 times while it is still in the bowl. This strengthens the structure without the mess of extra flour.
Final Proof: Transfer the dough to a greased loaf pan. Let it rise for another 1–2 hours until it reaches the rim of the pan.
Baking: Preheat your oven to 190°C (375°F). Bake for 30–35 minutes. You will know it is done when the top is golden brown and the internal temperature reaches approximately 90–95°C (195–205°F).
Cooling: This is the hardest part. You must let the bread cool for at least 60 minutes before slicing. If you cut it while hot, the steam escapes too quickly, leaving the bread gummy.
Practical Benefits for Office Lunches
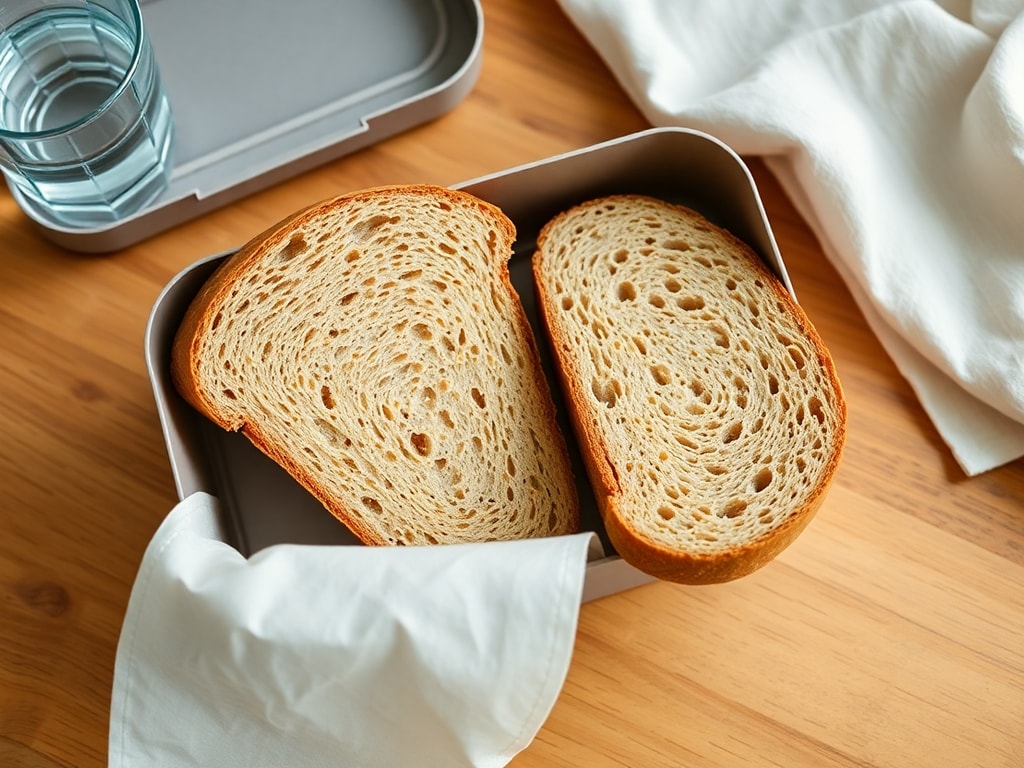
One of the best reasons to bake your own bread is for meal prepping. Homemade bread is significantly more filling than the airy, processed slices found in supermarkets. In my experience, two slices of homemade sourdough or no-knead bread keep me full much longer during a workday.
For a portable lunch, I recommend making 'dense' sandwiches. Because the crust is sturdier, homemade bread holds up well to moist fillings like tuna salad or sliced tomatoes without becoming soggy by noon. If you are tracking calories, a standard slice of this homemade bread (approx. 40g) contains about 100–110 calories, depending on the flour used.
To make it a 'diet' win, I focus on the 'Open-Faced Sandwich' (Tartine) style. Using just one thick slice of your homemade loaf topped with high-protein ingredients like a boiled egg or smoked salmon reduces the carbohydrate load while maximizing the satisfaction of eating real, crusty bread.
Critical Caveats and When This Fails
While this method is designed for simplicity, there are several scenarios where the advice might not apply or may lead to poor results. It is important to recognize these risks before you start.
When the Advice Fails
- Old Yeast: If your yeast has been sitting in the back of the cupboard for over 6 months, it might be dead. If the dough doesn't bubble after 3 hours, do not continue; the bread will be a hard brick. Always test your yeast in a little warm water first if you are unsure.
- Extreme Humidity: In very humid climates, the flour absorbs moisture from the air. You may need to reduce the water by 10–20ml to prevent the dough from becoming an unmanageable soup.
- Oven Inaccuracy: Many small apartment ovens are not calibrated correctly. If your bread is burnt on the outside but raw in the middle, your oven might be running 20 degrees too hot. I recommend a cheap oven thermometer to verify the actual temperature.
Criteria to Verify Before Proceeding
Before you commit to this weekend project, use these two decision criteria to see if it fits your lifestyle:
Time vs. Effort: This method requires very little 'active' time (about 15 minutes total), but it requires a 'passive' window of 15–18 hours. If you need bread in 2 hours, this is not the right method for you.
Risk Tolerance: Homemade bread has a short shelf life. If you live alone and cannot eat a whole loaf or freeze it within 48 hours, you might be better off buying a small artisan loaf from a local bakery to avoid food waste.
What Many Beginners Miss
The factor that most people overlook is the 'carry-over cooking' that happens during the cooling phase. Many beginners think the bread is done when it leaves the oven, but the internal structure is still setting. If you slice it too early, you ruin the texture of the entire loaf. Another common mistake is using water that is too hot. Water over 45°C (113°F) will kill the yeast instantly. Always aim for 'lukewarm'—it should feel neither hot nor cold to the touch.
Finally, do not skip the salt. Salt is not just for flavor; it regulates the yeast activity and strengthens the gluten. A loaf without salt will rise too fast, collapse, and taste like cardboard.
The Single Most Accessible First Action
If you want to start baking but feel overwhelmed, do not buy a loaf pan or a fancy mixer yet. The single best first step is to buy a digital kitchen scale.
Precision is the difference between a loaf that rises and one that fails. Once you have a scale, you can accurately measure 300g of flour and 210ml of water, which is the foundation of every successful small-kitchen recipe. You can find reliable digital scales for under $15 at most general stores.
Closing Summary
Baking bread in a small kitchen is entirely achievable if you prioritize methods over equipment. By choosing the no-knead approach, you can enjoy fresh, healthy bread with minimal mess.
- Focus on the No-Knead Method: Use time (12–18 hours) instead of physical labor to develop gluten and save counter space.
- Control Your Ingredients: Use a digital scale and consider a 20% whole wheat mix for a more nutritious, diet-friendly loaf.
- Minimize Cleanup: Stick to the one-bowl technique and use parchment paper or a well-greased pan to keep washing to a minimum.
Your Next Step
Proceed to the grocery store today and pick up one bag of 'Bread Flour' (not all-purpose) and a jar of 'Active Dry Yeast'. Check your kitchen for a large glass or ceramic bowl. If you have these, you are ready to start your first dough tonight.
Previous
Fridge Clearing Recipes for Small Kitchens: Solo Living Guide
Next
How to Bake Bread in a Small Kitchen with Minimal Cleanup
More in Recipes

Fridge Clearing Recipes for Small Kitchens: Solo Living Guide
Learn fridge clearing recipes designed for small kitchens. Save money and reduce waste with one-pan methods and easy ingredient substitutions for solo living.

Spicy Seafood Stew Recipe: Maximize Satiety and Perfect Texture
Learn how to make a healthy spicy seafood stew with a focus on high satiety, precise heat control, and the correct ingredient sequence for the best texture.

Korean Rice Soup Guide: How to Cook Gukbap at Home Fast
Learn how to cook various Korean rice soup (Gukbap) types at home. This guide offers time-saving tips and authentic flavor secrets for busy office workers.

Doenjang Recipe Variations for Large-Scale Vegetarian Meal Prep
Learn how to use fermented soybean base in bulk vegetarian cooking. We cover storage, flavor balancing for picky kids, and large-scale meal prep strategies.