Fridge Clearing Recipes for Small Kitchens: Solo Living Guide

Key Takeaways
Learn fridge clearing recipes designed for small kitchens. Save money and reduce waste with one-pan methods and easy ingredient substitutions for solo living.
Fridge Clearing Recipes for Small Kitchens: Solo Living Guide
Have you ever opened your refrigerator on a Sunday night, only to find three wilted green onions, half a jar of pasta sauce, and a single egg staring back at you? This is a common scenario for many of us living in studio apartments or shared housing where the kitchen space is roughly the size of a closet. The temptation to order takeout is strong when the fridge looks like a graveyard of forgotten groceries, but with the right mindset and a few specific techniques, those scraps can become a high-quality meal. In my experience, the key to successful fridge clearing—often called 'naeng-pa'—isn't about following a rigid recipe. Instead, it is about understanding how to balance flavors and textures using the limited tools available in a small kitchen.
This guide is intended for general informational purposes only. I am an intermediate home cook sharing personal observations and methods. If you are unsure about the safety of an ingredient, please consult official food safety guidelines from organizations like the USDA or FDA. Never consume food that shows signs of spoilage or mold.
What you need before starting
Before you turn on your single induction burner or clear off your 40-centimeter-wide countertop, you need to prepare your environment and your mindset. Small-space cooking is 80% organization and 20% actual heat application. If you start chopping without a plan, you will quickly run out of room and end up with a mountain of dishes that makes the process feel like a chore rather than a win.
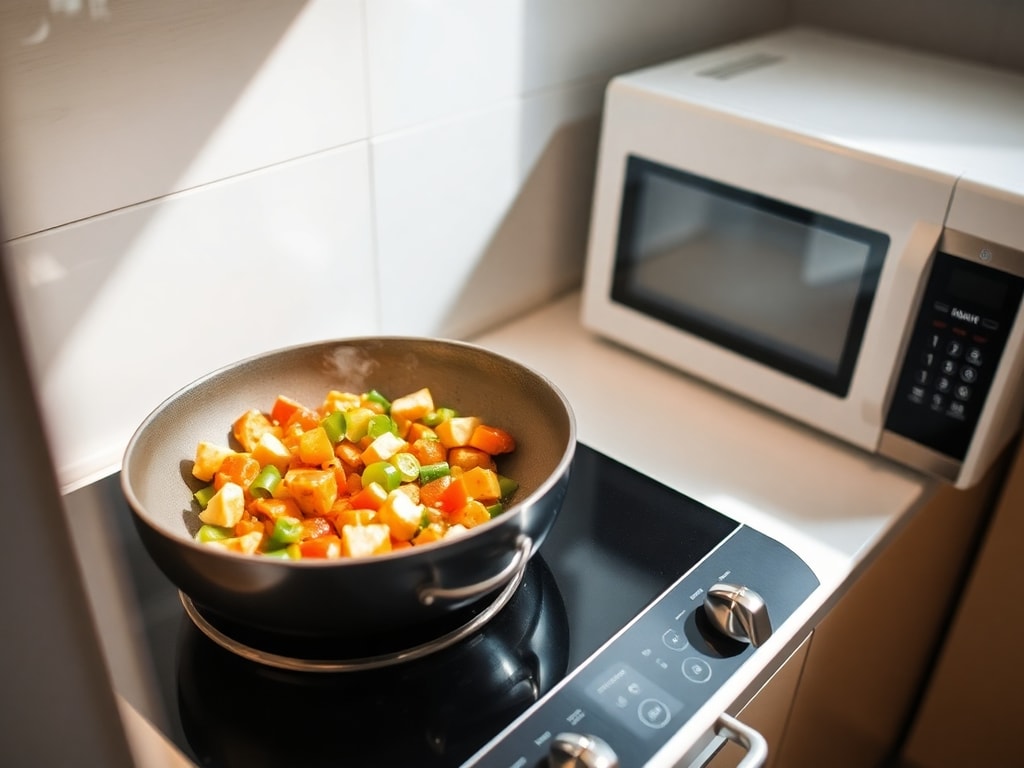
The Mindset: The 'One-Pan' Philosophy
In a small kitchen, every extra bowl you use is a liability. Your goal should be to use exactly one pan and one cutting board. I personally use a 26-centimeter deep skillet because it works for both stir-frying and making stews. You must accept that your meal might not look like a gourmet photograph, but it will be nutritious and cost-effective. The objective is to clear the fridge to make room for next week's groceries while saving the $15–$25 you would have spent on delivery.
Essential Tools and 'Bridge' Ingredients
- A sharp chef's knife: You do not need a 10-piece set; one good knife is more efficient.
- A small stack of paper towels: Essential for cleaning the cutting board between tasks to avoid washing it three times.
- A neutral oil: Canola or vegetable oil is better than olive oil for high-heat clearing sessions.
- Aromatics: At least 2 cloves of garlic or a small piece of ginger. If you lack these, even onion powder will work.
- The 'Bridge' Sauce: This is what ties everything together. Common combinations include soy sauce and sugar, or pasta sauce and red pepper flakes.
The Step-by-Step Fridge Clearing Process
This process is designed to minimize the footprint in your kitchen while maximizing the flavor of disparate ingredients. I have refined this over several years of living in apartments where the 'kitchen' was essentially a sink and a hot plate.
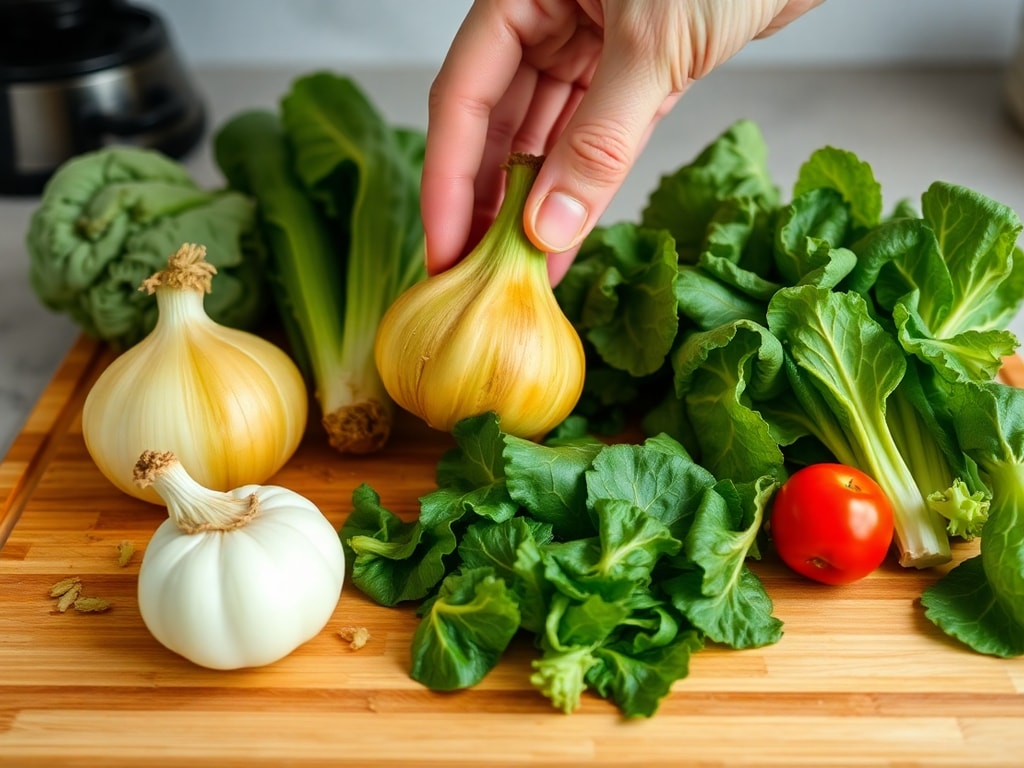
1. The Inventory Scan and Safety Check
Start by taking everything out of the refrigerator that is nearing its expiration date. Place them on your limited counter space. You must group them into three categories: hard vegetables (carrots, onions, potatoes), soft vegetables (spinach, zucchini, mushrooms), and proteins (tofu, leftover ham, eggs).
Common Failure Point: Many people ignore the 'hidden' items in the back of the crisper drawer. If you find something that is slimy or has a distinct sour smell, do not try to save it with spices. According to general food safety standards, 'when in doubt, throw it out.' Using spoiled ingredients will ruin the entire batch and could lead to illness.
2. The Minimalist Prep
Instead of using multiple bowls for chopped ingredients, use your cutting board as a staging area. Chop the hard vegetables first and push them to the top right corner. Chop the soft vegetables and put them in the top left. The protein goes in the center. This 'spatial organization' prevents you from needing extra dishes.
Common Failure Point: Cross-contamination is a major risk in small kitchens. If you are using raw meat, you must chop it last or wash the board thoroughly with soap and hot water before proceeding to vegetables. In my experience, it is safer for beginners to stick to pre-cooked proteins like canned tuna or ham when doing a quick fridge clear.
3. The Aromatic Foundation
Heat 1 tablespoon of oil in your pan over medium heat. Add your garlic, onions, or ginger. This step is crucial because it creates a flavor base that masks the 'fridge smell' that older vegetables sometimes carry. Let them cook for about 2 minutes until they are fragrant but not brown.
Common Failure Point: Using high heat on a small, thin-bottomed pan. Most studio apartment stoves are either very weak or intensely hot with no middle ground. If you burn your garlic in this stage, the entire dish will taste bitter. Keep the heat lower than you think you need.
4. Layering the Ingredients
Add the hard vegetables first. These require 5–7 minutes to soften. If you have a potato or carrot, cut them into small 1-centimeter cubes so they cook faster. Once they are halfway soft, add your protein. If you are using tofu or leftover meat, you are just looking to heat it through and perhaps get a little bit of browning on the edges.
Common Failure Point: Overcrowding the pan. If you fill the pan more than 80% of the way to the top, the ingredients will steam instead of sauté. This results in a mushy texture. If you have too many vegetables, it is better to cook them in two small batches.
5. The Flavor Binding (The Sauce)
Once everything in the pan is nearly cooked, add your sauce. For a Korean-inspired clear, I use 2 tablespoons of soy sauce and 1 tablespoon of honey or sugar. For a Western style, I might use 3 tablespoons of leftover salsa or pesto. Stir constantly for 1–2 minutes so the sauce coats everything and thickens slightly.
Common Failure Point: Adding too much liquid too early. If you pour in a whole cup of water or sauce, you turn a stir-fry into a soup, and the vegetables will lose all their texture. Add liquid incrementally—1 tablespoon at a time.
6. Finishing and Plating
Turn off the heat and add your softest ingredients, like spinach or bean sprouts. The residual heat in the pan is enough to wilt them in about 30 seconds. This preserves their color and nutrients. Serve the mixture over a bowl of rice or noodles. To save on washing, I often eat directly from the bowl I used to measure the rice.
Common Failure Point: Leaving the pan on the hot burner after turning it off. Induction and electric coils stay hot for a long time. If you leave the pan there, the bottom layer will burn while you are eating. Move the pan to a cool surface immediately.
How to know if your fridge clearing was successful
Success in fridge clearing is measured by three criteria: taste, waste reduction, and cleanup time.
Firstly, the flavors should be cohesive. Even if the ingredients are an odd mix—like broccoli and hot dogs—the 'bridge' sauce should make them taste like a unified dish. If one ingredient tastes significantly 'off' or sour, the clearing failed, and you should not consume the rest of the meal.
Secondly, look at your refrigerator. If you have successfully used up 3–5 items that were going to be thrown away, you have succeeded in reducing food waste. According to some estimates, the average household wastes about 20–30% of the groceries they buy; reducing this even by half can save a solo dweller $30–$50 per month.
Finally, the cleanup should take no more than 10 minutes. If you find yourself scrubbing three pots and four bowls, you didn't follow the minimalist method. A successful 'naeng-pa' session should leave your kitchen nearly as clean as when you started, with only one pan and one bowl in the sink.
Tips for professional-level results in a tiny space
If you want to improve your fridge clearing skills, consider these three advanced tips that I have picked up over the years:
The Acid Finish: If your stir-fry tastes flat or 'heavy,' add a squeeze of lemon or a teaspoon of vinegar at the very end. The acidity brightens the flavors of older vegetables and makes the dish taste fresh.
Texture Contrast: If everything in your pan is soft, add something crunchy at the end. This could be a handful of crushed peanuts, some toasted sesame seeds, or even crushed crackers. Texture is often what separates 'sad' fridge clearing from a 'real' meal.
The 'Everything' Soup Alternative: If your vegetables are too wilted to stir-fry, turn them into a soup. Boil 500ml of water with a bouillon cube, throw in all the vegetables, and simmer for 15 minutes. Use a fork to mash the vegetables into the broth for a rustic, thick soup that hides the poor appearance of the ingredients. minimalist kitchen tools pantry staple guide
Critical Caveats: When this is not a fit
Fridge clearing is an excellent strategy, but it is not always the right choice. There are specific scenarios where you should pause and reconsider:
- When safety is questionable: If you see any white, green, or black fuzzy spots on vegetables or cheese, do not simply cut them off. Mold can have invisible roots that penetrate deep into soft foods. In this case, the risk of food poisoning outweighs the benefit of saving $2.
- When flavors are fundamentally incompatible: While 'fusion' is great, some things do not mix. For example, trying to clear out leftover mint chocolate and mixing it into a savory garlic stir-fry will result in a meal that is likely inedible. If the flavor profiles are too disparate, it is better to cook them in two separate, very small portions.
- When you are exhausted: If you are too tired to pay attention to the stove, you are likely to burn the food or cut yourself in a cramped space. Fridge clearing requires a bit of mental 'puzzle-solving.' If your brain is fried, it is okay to just have cereal and save the clearing for the next morning.
Decision Criteria for your next meal
When deciding whether to attempt a fridge clearing session or just buy something new, use these two criteria:
Time vs. Benefit: Do you have at least 20 minutes? If you are rushing out the door in 5 minutes, you will likely make a mess and leave the burner on. Only attempt this when you have the time to properly scan for spoilage and clean as you go.
Ingredient Critical Mass: Do you have a protein and a base? A pan full of only wilted lettuce will not satisfy you. You need at least one 'filling' element (tofu, meat, beans, or eggs) and one 'bulk' element (rice, noodles, or heavy vegetables) to make the effort worthwhile.
Conclusion
To summarize, successful fridge clearing in a small kitchen depends on:
- The One-Pan Rule: Keeping your workspace clear and your dishes minimal.
- Layered Cooking: Adding ingredients based on their required cooking time (hard veggies first, soft veggies last).
- Flavor Bridges: Using strong aromatics and sauces to unify disparate ingredients. Your specific action for today is to open your refrigerator, find three items that will expire within the next 48 hours, and plan a simple one-pan meal around them for tonight’s dinner. Next Steps:
- Proceed: If your ingredients smell fresh and you have 20 minutes of time.
- Pause: If you find mold or if you are missing a basic seasoning like salt or soy sauce.
- Verify: Check an official food storage chart if you are unsure how long that opened package of ham has been sitting in the back of the shelf.
Previous
Spicy Seafood Stew Recipe: Maximize Satiety and Perfect Texture
Next
Fridge Clearing Recipes for Small Kitchens: Solo Living Guide
More in Recipes

How to Bake Bread in a Small Kitchen with Minimal Cleanup
Learn how to bake homemade bread in a small kitchen with minimal cleanup. This guide covers no-knead methods, diet-friendly tips, and office lunch ideas.

Spicy Seafood Stew Recipe: Maximize Satiety and Perfect Texture
Learn how to make a healthy spicy seafood stew with a focus on high satiety, precise heat control, and the correct ingredient sequence for the best texture.

Korean Rice Soup Guide: How to Cook Gukbap at Home Fast
Learn how to cook various Korean rice soup (Gukbap) types at home. This guide offers time-saving tips and authentic flavor secrets for busy office workers.

Doenjang Recipe Variations for Large-Scale Vegetarian Meal Prep
Learn how to use fermented soybean base in bulk vegetarian cooking. We cover storage, flavor balancing for picky kids, and large-scale meal prep strategies.