Homemade Macarons: Tips for Busy Parents to Bake with Confidence

Key Takeaways
Unlock the secrets to baking beautiful, consistent macarons at home. This guide offers practical tips and troubleshooting for busy parents, simplifying the process from meringue to perfect shells.
Homemade Macarons: Tips for Busy Parents to Bake with Confidence
If you've ever gazed longingly at a vibrant display of macarons, perhaps in a bakery window or on a social media feed, you're not alone. The delicate, colorful French cookies with their signature 'feet' are undeniably alluring. For years, I admired them from afar, convinced they were the exclusive domain of professional pastry chefs or those with endless hours to dedicate to the kitchen. As a busy parent, my weekdays are a whirlwind of meal kits and quick dinners, leaving precious little time for elaborate baking. Yet, the challenge of creating something so beautiful and seemingly complex always tugged at me, especially on weekends when I craved a more rewarding kitchen project than just assembling a meal. I wanted good results, but without spending the entire day perfecting a single batch.
Why Did My Early Macaron Attempts Fail?
My journey into macaron making started, frankly, with a lot of frustration. In my earliest attempts, perhaps five or six years ago, I approached baking much like I did most recipes: by following instructions without fully understanding the underlying science. I'd grab a recipe online, measure out ingredients with a casual air, and hope for the best. The results were, predictably, disappointing. I encountered all the classic pitfalls that plague aspiring macaron bakers, leaving me with trays of what looked more like misshapen, cracked cookies than elegant French pastries.
Specifically, my early batches suffered from several common problems:
- Hollow shells: The outer shell would look okay, but bite into it, and you'd find a gaping void inside. It felt like a culinary magic trick gone wrong.
- Cracked tops: Instead of smooth, pristine surfaces, my macarons often had unsightly cracks, especially after baking. This was incredibly disheartening.
- No 'feet': That characteristic ruffled edge, the hallmark of a properly baked macaron, was consistently absent. My cookies just sat flat.
- Sticky or chewy texture: The texture was often off – either too sticky to peel from the parchment paper or unpleasantly chewy rather than delicately crisp with a soft interior. Looking back, the 'why' behind these failures was clear: a lack of precision and an incomplete understanding of the process. I'd use room-temperature egg whites without considering their age or the humidity in my kitchen. I'd eyeball measurements, thinking a little extra almond flour wouldn't hurt. Most critically, I didn't grasp the importance of the meringue's stability or the delicate balance required during the 'macaronage' stage – the folding of the dry ingredients into the meringue. Recipes would say 'fold until lava-like,' but what exactly did that mean? Without visual cues or a deeper explanation, I was essentially guessing, leading to wildly inconsistent results and a lot of wasted ingredients.
What Works Better Now: Embracing Precision and Process
The turning point for me came when I stopped treating macaron recipes as mere instructions and started viewing them as a scientific experiment. I realized that achieving those perfect shells wasn't about innate baking talent, but about understanding and controlling a few key variables. This shift in mindset, combined with a focus on specific techniques, dramatically improved my success rate. Now, even with the demands of family life, I can reliably produce beautiful macarons that rival those from a good bakery.
The Meringue Method: Italian vs. French
For a long time, I stuck to the French meringue method because it seemed simpler: whip egg whites and sugar. However, I found it less forgiving, especially when dealing with slight variations in technique or ingredients. The Italian meringue method, while it involves a hot sugar syrup, offers significantly more stability. In my experience, it produces a more robust meringue that's harder to overmix and results in consistently fuller shells with better feet. While it adds an extra step of boiling sugar, the increased reliability is well worth it, especially for intermediate bakers like myself who want consistent results without constant anxiety.
Ingredient Preparation: The Foundation of Success
Precision begins even before mixing. I've learned that every gram matters, so a good kitchen scale (digital, if possible) is non-negotiable. For instance, I weigh out exactly 100 grams of almond flour and 100 grams of powdered sugar for a standard batch. Don't rely on cup measurements for macarons; they are simply too inaccurate. Here are some critical steps that have made a huge difference:
- Aging Egg Whites: While not strictly necessary with the Italian method, I still find that separating egg whites 2–3 days in advance and letting them sit, covered loosely in the fridge, yields a more stable meringue. This process, as I understand it, slightly dehydrates the whites, making them stronger.
- Sifting Dry Ingredients: This is a step I absolutely never skip. I sift the almond flour and powdered sugar together at least two, often three, times. This removes any lumps and ensures a super-fine, airy mixture, which is crucial for those smooth macaron tops. I even pulse the almond flour lightly in a food processor with a portion of the powdered sugar before sifting to break up any stubborn clumps. Warning: Skipping sifting is a common mistake that leads to bumpy, rough shells.
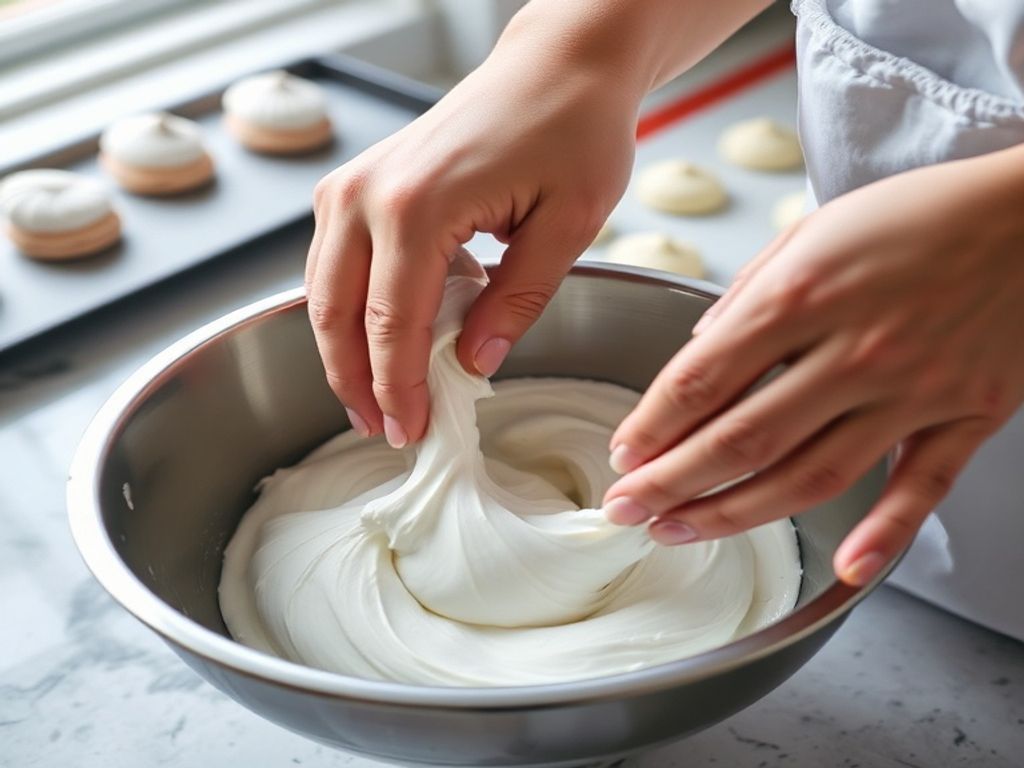
Mastering Macaronage: The Art of Folding
This is perhaps the most critical and often misunderstood step. Macaronage is the process of gently folding the dry ingredients into the meringue until the batter reaches the correct consistency. Too little folding (under-macaronage) and your macarons will be too stiff, likely crack, and won't develop feet. Too much folding (over-macaronage) and the batter will be too runny, spreading out without feet and possibly creating hollows.
My approach now involves specific visual cues:
Initial Mixing: Combine about one-third of the meringue with all the sifted dry ingredients and mix until just combined. This helps loosen the dry mixture.
Gradual Folding: Add the remaining meringue in two additions. Use a spatula to scrape down the sides of the bowl and fold the batter over itself. I use a 'J' motion: scrape down, sweep across, and fold over. Repeat this process.
The 'Lava' Consistency: This is where practice comes in. The batter should flow off your spatula in a thick, continuous ribbon, like slow-moving lava. When you lift the spatula and let the batter fall back into the bowl, it should hold its shape for about 10–15 seconds before slowly reabsorbing into the rest of the batter. This is often called the 'ribbon stage.' For example, if the ribbon breaks quickly or is too thick, continue folding for a few more strokes. If it's too thin and runny, you've gone too far.
Piping and Drying: Attention to Detail
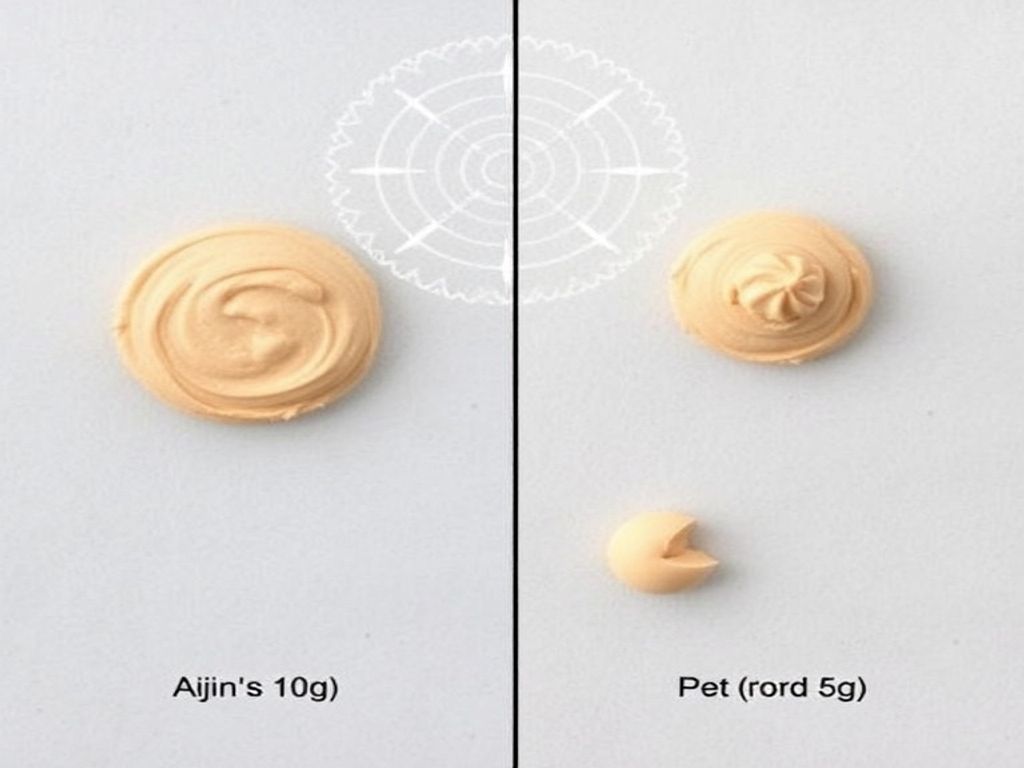
Once the macaronage is perfect, piping comes next. I use a large round piping tip (about 1 cm in diameter) and a reusable piping bag. I pipe uniform circles, typically 3.5–4 cm wide, onto parchment paper or a silicone mat. After piping, I firmly tap the baking sheets on the counter 2–3 times. This releases any air bubbles trapped in the batter, which helps prevent cracks and hollows. You can also pop any visible air bubbles with a toothpick.
Next comes the drying or 'crusting' stage. This involves letting the piped macarons sit at room temperature until a skin forms on top. The time this takes varies greatly depending on humidity. In my kitchen, it usually takes 30–60 minutes. You'll know they're ready when you can gently touch the top of a macaron and no batter sticks to your finger. This skin is crucial because it forces the macaron to rise upwards in the oven, creating those coveted feet.
Warning: Baking before a proper skin has formed is another common cause of cracked shells.
Baking for Perfect Feet and Texture
Oven calibration is key. Every oven is different, so getting to know yours is vital. I've found that baking them at 300°F (150°C) for 12–14 minutes, rotating the tray halfway through, works best for me. I often use a double-pan method (placing one baking sheet on top of another) to insulate the bottoms and prevent burning. This also promotes more even heat distribution. The macarons are done when the feet are fully developed, and the shells don't wobble when gently nudged. After removing them from the oven, let them cool completely on the baking sheet before attempting to peel them off. Trying to remove them too soon will result in sticky, broken shells.
What to Watch For Going Forward: Refinement and Enjoyment
Even with a reliable method, macaron making remains a craft that benefits from continuous refinement. My future focus is on subtle variations and troubleshooting minor imperfections. For instance, sometimes I still get slightly lopsided feet, which usually points to uneven heat distribution in my oven or inconsistent piping pressure. It's about constant observation and adjustment.
- Flavor Experimentation: Once you master the basic shell, the world of fillings opens up. I started with simple ganaches and buttercream, which are easy to make with readily available ingredients. Now, I'm slowly venturing into more complex fruit curds or even a simple espresso buttercream.
- Troubleshooting: Keep a mental note or even a small log of your attempts. If you have hollows, consider if your meringue was stable enough or if you over-macaronaged. If you have cracked tops, think about the drying time or oven temperature. Each batch offers a learning opportunity.
- Patience and Practice: Macarons are not a 'rush through' kind of bake. They demand patience at every step. Don't get discouraged by a less-than-perfect batch; every attempt builds your skill and intuition. Even after several successful batches, I still approach each session with a degree of focused attention, especially when wrangling a toddler who wants to 'help' with the sugar. Ultimately, making macarons has become a rewarding weekend ritual. It's a chance to create something truly special, a small indulgence that brings joy to my family and friends. It shows that even with an intermediate skill level and a busy schedule, beautiful baking is entirely within reach, provided you approach it with a little science and a lot of patience.
Frequently Asked Questions
Conclusion
Embarking on the journey of making macarons, especially as a busy parent, might seem daunting, but it's incredibly rewarding. The key takeaways from my experience are three-fold: first, precision is paramount – a kitchen scale and meticulous ingredient preparation are non-negotiable. Second, understanding the 'why' behind each step – from meringue stability to macaronage consistency – transforms guesswork into confident execution. Finally, patience and practice are your greatest allies, turning initial failures into opportunities for learning and refinement. Don't be afraid to experiment and troubleshoot.
So, what's one specific action you can take today? Gather your ingredients, make sure you have a reliable digital kitchen scale, and commit to sifting your dry ingredients three times. This small but mighty step will lay a solid foundation for your next batch of homemade macarons, bringing you closer to those perfectly delicate, flavorful treats.
Previous
Vegetarian Japchae: A Diet-Friendly Guide to Making This Classic Dish
Next
Homemade Macarons: Tips for Busy Parents to Bake with Confidence
More in Recipes

Doenjang Recipe Variations for Large-Scale Vegetarian Meal Prep
Learn how to use fermented soybean base in bulk vegetarian cooking. We cover storage, flavor balancing for picky kids, and large-scale meal prep strategies.

Tteokguk Recipe: How to Make Korean Rice Cake Soup for One
Learn how to make Tteokguk, the classic Korean rice cake soup. This guide compares quick solo-friendly methods with traditional beef broth recipes for home cooks.

Weekly Lunch Box Side Dishes: A Planning Guide for Solo Diners
Learn how to plan and prep weekly lunch box side dishes for one. Discover strategies for variety, food safety, and efficiency to save time and reduce waste.

Healthy Bulgogi Recipe: Best Ingredient Substitutes for Better Nutrition
Learn how to make healthy bulgogi with our comprehensive guide on ingredient substitutions. Compare beef cuts, sweeteners, and sodium options for better nutrition.