Authentic mung bean pancake tips for a perfect crispy finish
Key Takeaways
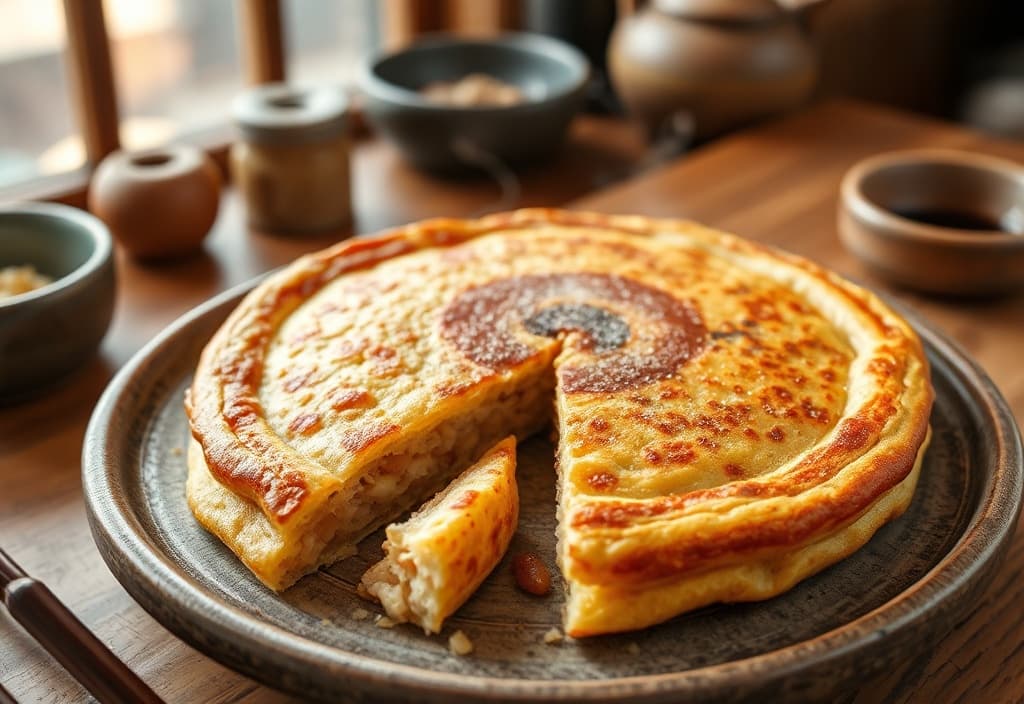
Authentic mung bean pancake tips for achieving the perfect crispy texture at home. Learn how to soak beans, adjust consistency, and fry for traditional flavor.
Authentic mung bean pancake tips for a perfect crispy finish
I spent years thinking that making mung bean pancakes from scratch was a task reserved only for professional market vendors or holiday feasts, and I was wrong. I assumed the complexity of the process outweighed the reward, leading me to rely on store-bought mixes that never quite captured that earthy, nutty crunch. After eight years of living alone and attempting to recreate the comfort of traditional cooking, I realized that the secret is not in a complicated technique, but in respecting the behavior of the bean itself. My early attempts were disasters—either mushy piles of green paste or burnt discs that lacked any internal structure—but those failures taught me exactly where the process usually goes sideways.
Before we dive into the culinary specifics, please note that this article provides general cooking information only. It is not intended as nutritional or medical advice. If you have specific dietary restrictions, such as low-sodium requirements or legume allergies, please consult with a healthcare professional or a registered dietitian before making significant changes to your diet.
To achieve a result that rivals the famous stalls at Gwangjang Market, you must focus on these four pillars of preparation:
- The hydration and peeling of the beans to ensure a clean flavor.
- The grind consistency, which must remain coarse rather than silky.
- The moisture control of the additives like kimchi and bean sprouts.
- The temperature management of the frying oil.
How do you prepare the beans for the best texture?
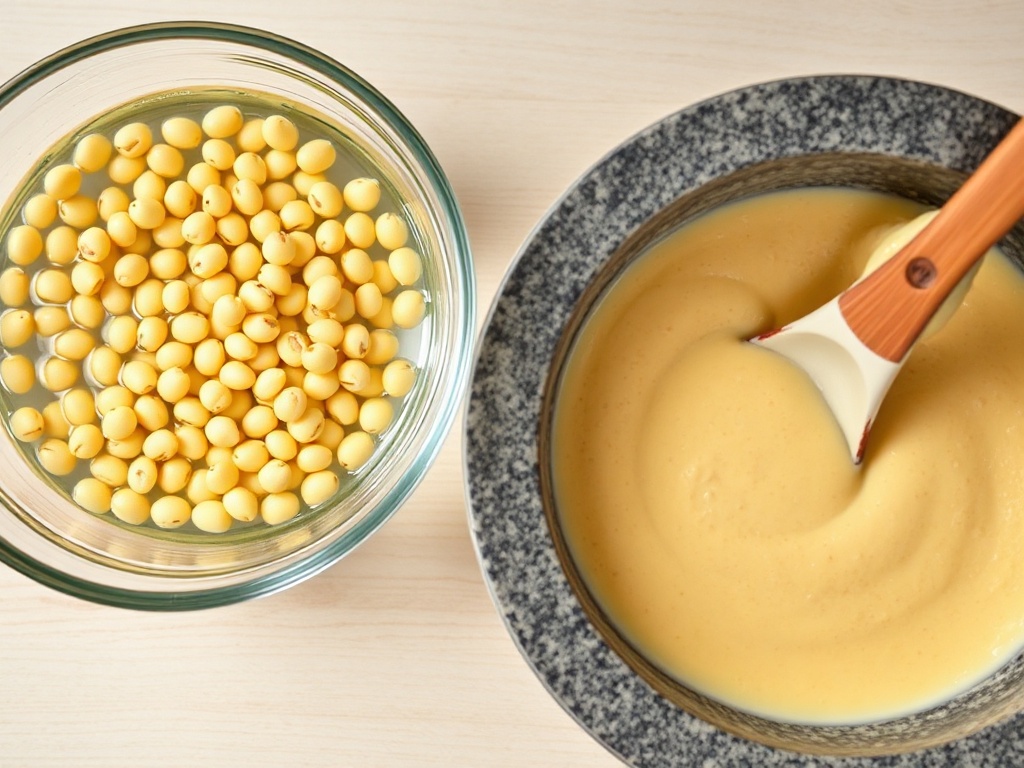
The foundation of a great pancake starts at least 12 hours before you turn on the stove. In my experience, using split, peeled mung beans is the most efficient path for a home cook, but even these require a significant soak. You cannot rush this process with hot water; cold water and time are essential for the starch to hydrate evenly. I typically soak 500 grams of beans in plenty of water for a full 12–15 hours. If you use unpeeled beans, you will need to rub them vigorously between your palms after soaking to loosen the skins, which can add another 30 minutes to your prep time.
Once soaked, the rinsing process is critical. You must rinse the beans 3–4 times until the water runs completely clear. Any residual starch or foam on the surface of the water can lead to a 'gummy' interior. Specifically, when you drain the beans, let them sit in a colander for at least 10 minutes. If you carry too much soaking water into the blender, your batter will be too thin, and the pancake will fail to hold its shape in the pan.
What is the secret to the perfect batter consistency?
This is where most beginners fail. We are conditioned by modern kitchen appliances to blend everything into a smooth puree, but for mung bean pancakes, a smooth batter is your enemy. You want a texture that feels like wet sand between your fingers, not cream. When I use a standard home blender, I add only about 200–300 milliliters of water for every 500 grams of soaked beans. I blend in short pulses of 3–5 seconds each.
In practice, I found that if I blend for more than 30 seconds continuously, the beans lose their structural integrity, resulting in a pancake that tastes like a heavy bean pudding rather than a crisp fritter. If you accidentally add too much water, do not try to fix it by adding wheat flour, as this will mask the delicate nutty flavor of the mung beans. Instead, you can add a tablespoon or two of glutinous rice powder, which helps with binding without compromising the authentic taste.
Why are the filler ingredients just as important as the beans?
A mung bean pancake is not just about the batter; it is a vehicle for textures. The traditional trio consists of seasoned pork, blanched bean sprouts, and well-fermented kimchi. Each of these must be prepared to minimize moisture. For example, if you use bean sprouts, they should be blanched for exactly 2 minutes, shocked in ice water, and then squeezed until they are bone-dry. If you skip the squeezing, the water will leak into the batter during cooking, creating soggy pockets.
For the pork, I recommend a mix of ground pork and finely sliced pork belly. The fat from the pork belly renders out during the frying process, flavoring the bean batter from the inside out. Specifically, aiming for a 20 percent fat-to-lean ratio in your meat will provide the best results. The kimchi should be aged for at least 3–4 months; fresh kimchi lacks the acidity needed to cut through the richness of the fried beans. Always rinse the seasoning off the kimchi and squeeze out the juice before chopping it into 1-centimeter pieces.
How do you achieve that signature market-style crunch?
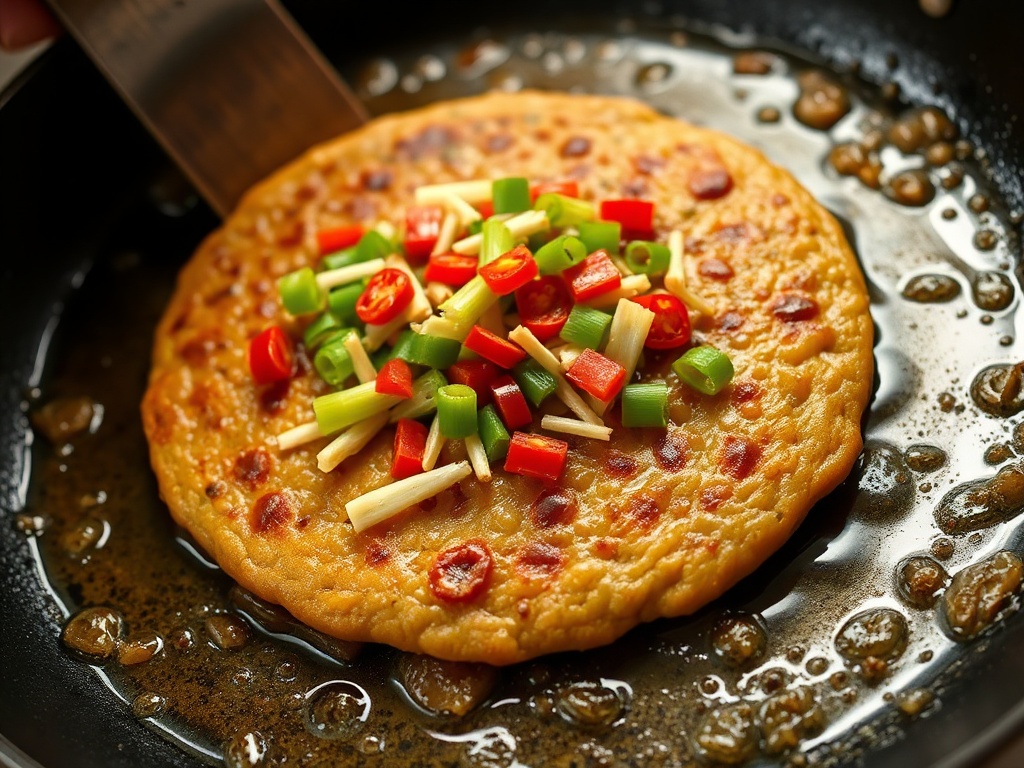
Frying is the final hurdle. This is not a dish for those who are afraid of oil. To get that deep, golden crust, you need to use enough oil to almost shallow-fry the pancake. I use a heavy cast-iron skillet because it maintains a steady heat, which is vital. The oil should be heated to approximately 180 degrees Celsius before the first scoop of batter hits the pan. If the oil is too cold, the batter will simply soak it up like a sponge, leaving you with a greasy, heavy mess.
When you pour the batter, aim for a thickness of about 1.5–2 centimeters. If it is too thin, it will be brittle; if it is too thick, the center will remain raw while the outside burns. Once the pancake is in the pan, do not touch it for at least 3 minutes. You need to wait until the edges turn a visible golden brown. In my early days of cooking, I was too impatient and tried to flip them too early, which always resulted in the pancake breaking apart. A steady, medium-high heat is your best friend here.
Critical caveats and when this recipe might fail
Even with the best intentions, certain factors can ruin your batch of pancakes. It is important to recognize when to pause and adjust your strategy. One of the most common points of failure is the age of the mung beans. Older beans that have been sitting in the pantry for over a year become significantly harder and may not soften even after 24 hours of soaking. If your beans still feel 'crunchy' after a long soak, they will not grind properly, and the resulting pancake will have hard bits that are unpleasant to eat.
Another critical factor is the ambient humidity. On very humid or rainy days, the bean sprouts and kimchi will retain more moisture than usual, and the beans themselves may hydrate differently. If you notice your batter is looking particularly runny, you must adjust by increasing your frying temperature slightly to cook off the excess steam more rapidly. Furthermore, this recipe is not a good fit for those looking for a low-fat meal. Attempting to 'pan-sear' these with a minimal spray of oil will result in a dry, bland, and crumbly texture that misses the point of the dish entirely.
Criteria for success
- Texture check: The exterior should produce an audible crunch when poked with a spatula, while the interior remains soft but not liquid.
- Structural integrity: You should be able to lift a 10-centimeter pancake with a pair of chopsticks without it snapping in half.
Synthesis of the perfect pancake
Making mung bean pancakes is an exercise in patience and sensory awareness. It is about the transition from the hard, dry bean to a hydrated legume, and finally to a crispy, savory meal. The unifying insight I have gained over the years is that the mung bean is naturally quite bland and starchy; it requires the acidity of the kimchi, the richness of the pork fat, and the high-heat Maillard reaction of the frying process to truly shine. If you skimp on any of these elements—whether by using unfermented kimchi or too little oil—the balance is lost.
In practice, the best way to master this is to start with small batches. Do not try to make 20 pancakes at once. Start with a small 500-gram bag of beans and focus on getting the grind right. Once you understand the feel of the batter, the rest of the steps will fall into place naturally. It is a rewarding process that connects you to traditional culinary roots while providing a deeply satisfying meal.
Next steps for the home cook
If you are ready to try this at home, your path forward depends on your current setup and ingredients.
- Proceed: If you have high-quality, relatively fresh split mung beans and a heavy-bottomed pan, start soaking your beans tonight. Ensure you have aged kimchi in the back of your fridge.
- Pause: If you only have mung bean flour or very old whole beans, I recommend waiting until you can source fresh split beans. The effort required to peel old whole beans is often discouraging for beginners.
- Verify: Before you begin frying, check your oil temperature with a thermometer or by dropping a tiny bit of batter into the pan. If it doesn't sizzle immediately and float to the top, your oil is not ready. In summary, remember that the best pancakes come from a coarse grind, dry fillers, and plenty of hot oil. By following these specific steps, you can move away from mediocre store-bought versions and enjoy the authentic taste of a perfectly made mung bean pancake. Today, I suggest you go to your pantry and check the age of your beans—if they are fresh, get them in the water now.
- Ensure a 12–15 hour soak for the beans.
- Keep the grind coarse by using short pulses in the blender.
- Squeeze all excess moisture from the kimchi and bean sprouts.
- Use a heavy pan with oil heated to 180 degrees Celsius.
Previous
Pork Rib Seasoning Methods for Healthy Family Dinners
Next
Authentic mung bean pancake tips for a perfect crispy finish
More in Recipes
Easy 5-Ingredient Pork Suyuk: The Ultimate High-Protein Diet Recipe
Discover a simple 5-ingredient Korean boiled pork (Suyuk) recipe that takes just 50 minutes. Perfect for a high-protein, low-calorie diet that keeps you full.
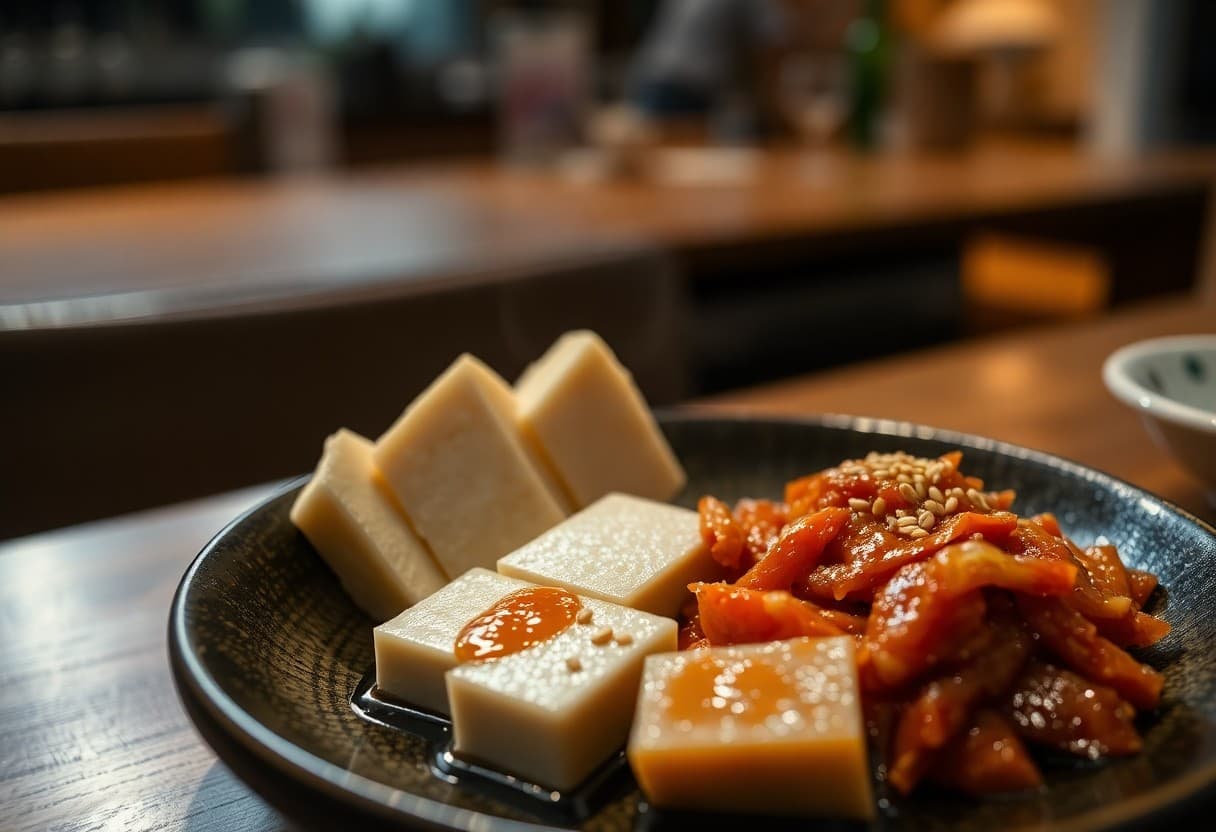
Tofu Kimchi Recipe: Quick Ways to Use Fridge Leftovers
Learn a simple Tofu Kimchi recipe to clear out your fridge. Discover freezer-friendly meal prep tips, common beginner mistakes, and quick cleanup hacks.
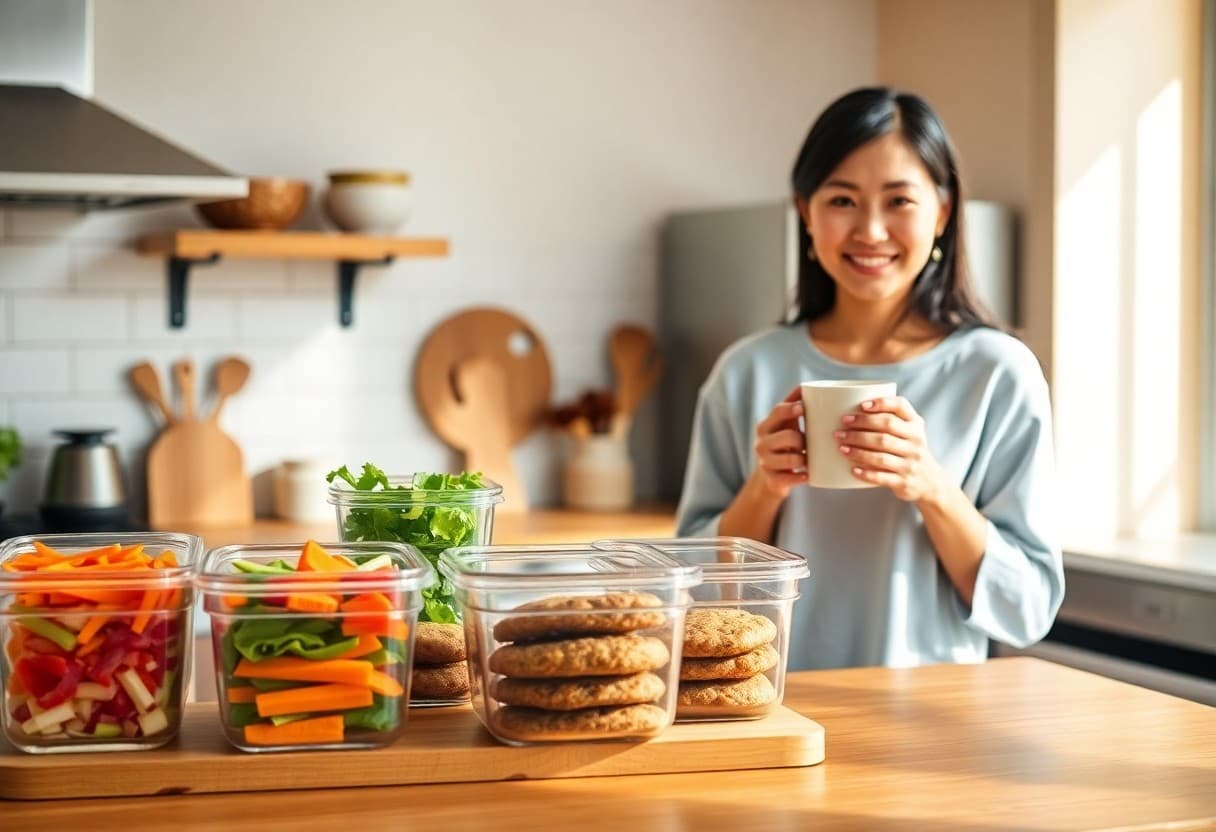
Vegetarian guest hosting recipes you can prep on weekends
Vegetarian guest hosting recipes made easy. Learn how to prep plant-based dishes on weekends, freeze them safely, and master smart ingredient substitutions.
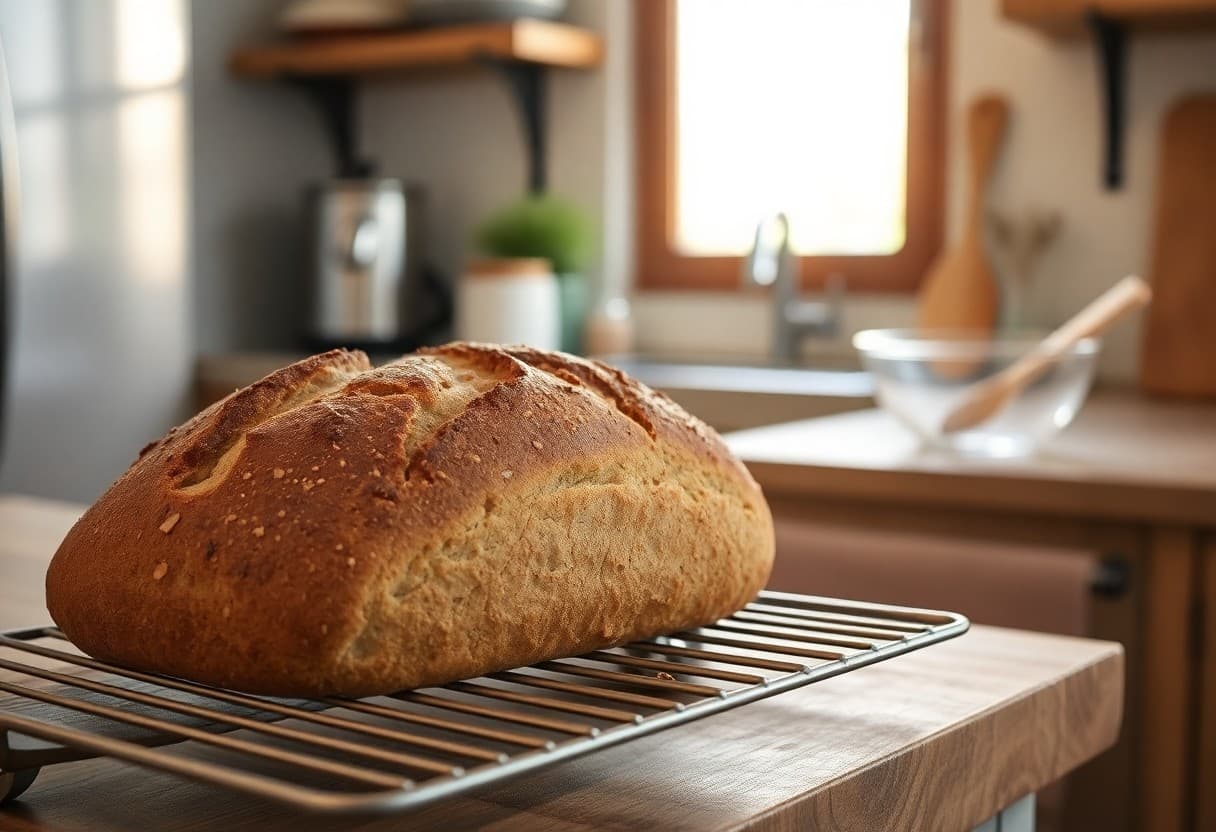
How to Bake Bread in a Small Kitchen with Minimal Cleanup
Learn how to bake homemade bread in a small kitchen with minimal cleanup. This guide covers no-knead methods, diet-friendly tips, and office lunch ideas.