Macaron Baking Guide: Master the French Technique at Home
Key Takeaways
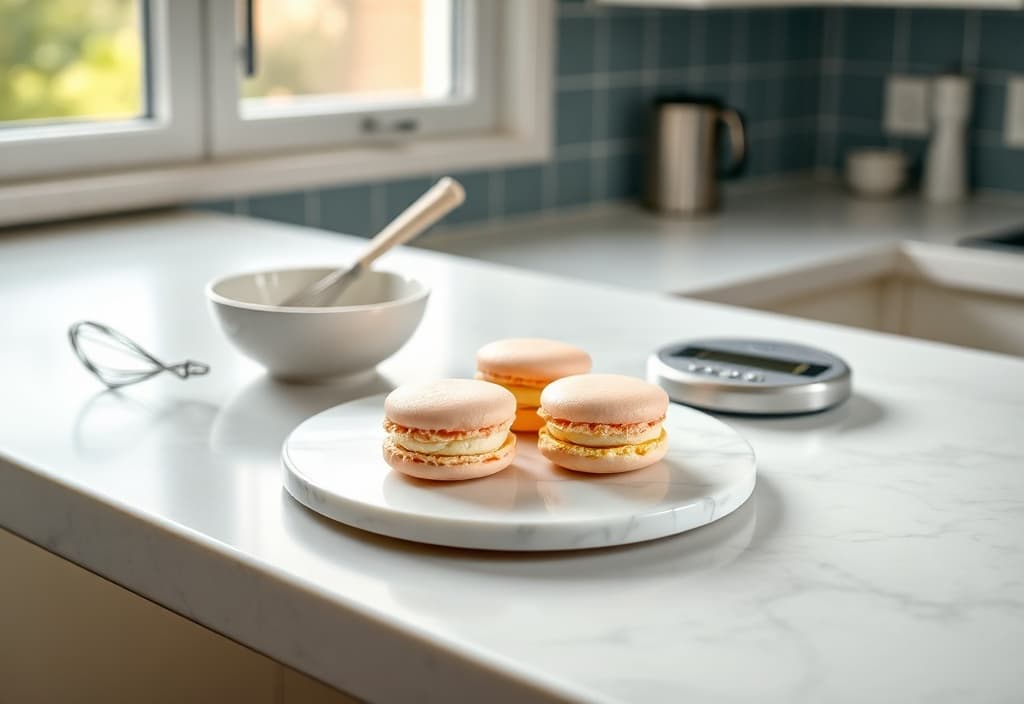
Learn how to make macarons with this comprehensive guide. Discover essential techniques for French meringue, macaronage, and troubleshooting common baking errors.
Macaron Baking Guide: Master the French Technique at Home
Have you ever spent an entire afternoon meticulously measuring ingredients and whisking egg whites, only to have your tray of delicate French cookies come out of the oven cracked, lopsided, or completely flat? It is a frustrating experience that many home bakers face when attempting the elusive macaron. While these treats are famous for their smooth tops and ruffled 'feet', they are equally famous for being temperamental. Achieving the perfect balance between a crisp exterior and a chewy interior requires more than just a recipe; it requires an understanding of the science behind the ingredients. In my experience, the secret lies not in expensive equipment, but in the patience to master the technique of macaronage and the discipline to respect the drying time.
This guide provides general information regarding baking techniques and food preparation. It is not intended as professional culinary certification or nutritional advice. If you have specific dietary restrictions or allergies, particularly regarding nuts or eggs, please consult with a healthcare professional or a certified nutritionist before consuming these items. Always practice standard kitchen safety when operating ovens and handling hot trays.
What are the essential ingredients for a successful macaron?
This section is for complete newcomers who are just starting their baking journey and need to understand the foundational components of a macaron. To begin, you must realize that a macaron is essentially a meringue-based cookie. Unlike most cookies that rely on flour and butter for structure, the macaron relies on the stability of egg white proteins.
The Core Four Ingredients
You only need four primary ingredients to create the shells, which makes this an accessible project for someone using a standard grocery store. Specifically, you will need 100g of egg whites, 110g of finely ground almond flour, 200g of powdered sugar, and 50g of granulated sugar. In my experience, the quality of the almond flour is the most significant variable. It must be extra-fine. If your almond flour feels slightly gritty or oily, your shells will likely have a bumpy texture or dark spots. To avoid this, I recommend sifting the almond flour and powdered sugar together at least 2 times, or even 3 times if you have the patience.
The Importance of Ratios
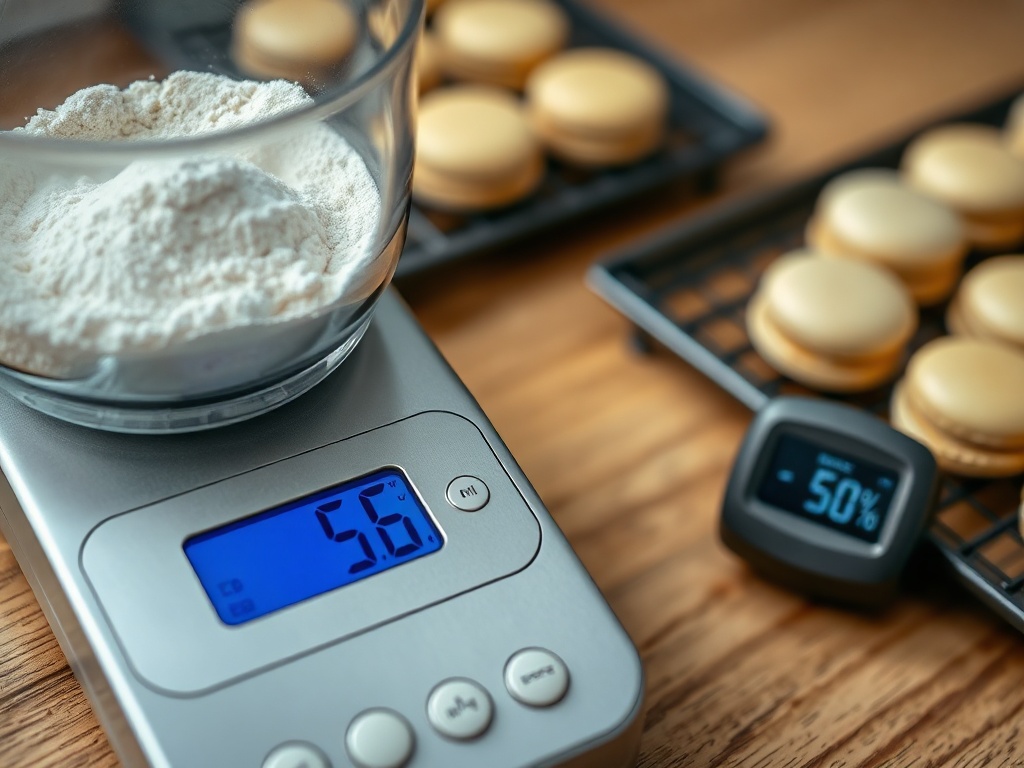
Precision is the difference between success and failure in French pastry. You cannot measure these ingredients by volume (cups); you must use a digital scale. For example, a single large egg white can weigh anywhere from 30g to 40g. If you use three eggs without weighing them, you might end up with 90g or 120g of whites, which completely throws off the ratio of sugar and almond flour. For a solo baker making a small batch, staying within the 100g range for egg whites produces about 20–24 individual shells, which is a manageable amount that fits on a single standard baking sheet.
How do you achieve the perfect macaronage consistency?
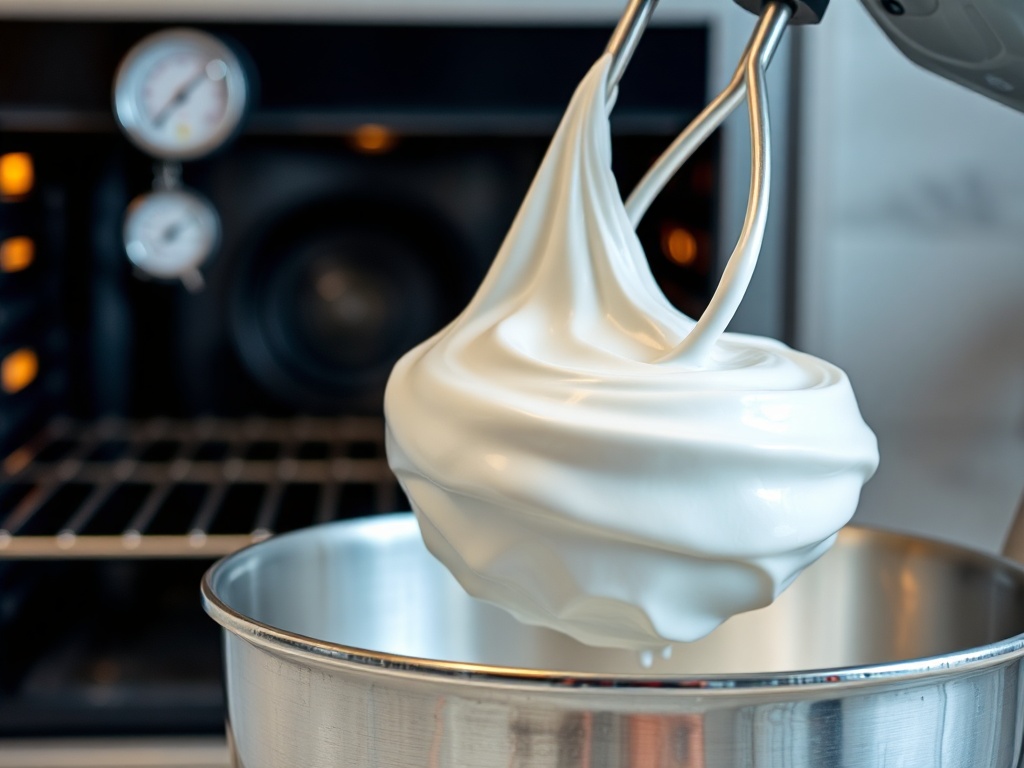
This section is for those who have tried baking basic cookies or cakes and are ready to tackle the specific folding technique that gives macarons their unique texture. Once you have whipped your egg whites and granulated sugar into stiff peaks—meaning the meringue stands straight up when you lift the whisk—it is time for the macaronage.
The Folding Process
Macaronage is the process of folding the dry ingredients into the meringue while simultaneously knocking out just enough air to reach a 'lava-like' consistency. In practice, this means using a silicone spatula to scrape the bottom of the bowl and then pressing the batter against the sides. You should do this approximately 15–20 times before you start checking the consistency. The goal is a batter that flows slowly off the spatula in a continuous ribbon without breaking. If the batter falls in clumps, it is under-mixed. If it runs off the spatula like water, it is over-mixed and the shells will spread too thin in the oven.
Piping and the Skin
After the batter is ready, transfer it to a piping bag fitted with a 1cm round tip. Hold the bag perpendicular to the baking sheet and pipe 3.5cm circles, leaving at least 2cm of space between each. One critical step that beginners often skip is tapping the tray. You must bang the tray firmly on the counter 3–5 times to release trapped air bubbles. If you skip this, those bubbles will expand in the heat and crack your shells. Furthermore, you must let the piped shells sit at room temperature for 30–60 minutes. You are waiting for a 'skin' to form. When you can lightly touch the top of a shell with your finger and it doesn't stick, they are ready for the oven.
Why do macaron shells crack or fail to develop feet?
This section addresses intermediate considerations for those who have the basics down but are struggling with inconsistent results. Even if your batter looks perfect, the environment in your kitchen and the calibration of your oven can ruin the batch.
The Role of Humidity
Humidity is the primary enemy of the macaron. If the moisture level in your kitchen is above 50%, the shells may never form the necessary skin during the resting phase. Without that skin, the steam created during baking escapes through the top of the shell rather than being forced downward to create the 'feet' (the ruffled bottom edge). In my experience, if it is a rainy day, it is often better to pause the project entirely. If you must bake in humid conditions, you can try using a dehumidifier or letting the shells rest under a ceiling fan for an extended period of time.
Oven Calibration and Hot Spots
Most home ovens are not perfectly accurate. If your dial says 150 degrees Celsius, the actual internal temperature might be 165 degrees or 135 degrees. For example, if the temperature is too high, the shells will brown too quickly and crack. If it is too low, the feet will not form, and the shell will remain stuck to the parchment paper. I highly recommend using a standalone oven thermometer to verify the heat. Additionally, most ovens have hot spots. To mitigate this, bake only one tray at a time in the center rack and rotate the tray 180 degrees halfway through the 12–15 minute baking cycle.
What critical caveats should you consider before starting?
Before you commit several hours to this process, there are several scenarios where this advice might not apply or where you should exercise caution. Macaron baking is a high-effort, high-risk activity that does not always guarantee success on the first attempt.
When this is not a fit
- High Humidity Environments: If you live in a tropical climate without air conditioning, the French method described here is very likely to fail. The shells will remain tacky and will not rise correctly.
- Lack of Equipment: If you do not own a digital scale that measures in grams, do not attempt this recipe. Volume measurements are too inaccurate for the chemistry required here.
- Time Constraints: This is not a 'quick' dessert. From aging the egg whites to the final 24-hour maturation in the fridge, the process takes significant time. If you need a dessert in under two hours, a different recipe is a better choice.
Criteria for success
To decide whether to proceed, consider these two criteria:
Risk Tolerance: Are you okay with the possibility of the batch failing? Macarons are notoriously fickle even for experienced bakers.
Ingredient Availability: Do you have access to blanched almond flour? Using unblanched flour (with skins) will result in a heavy, gritty shell that does not resemble a traditional macaron.
Advanced Considerations: The Italian Method and Aging
For those who have mastered the French method and want more stability, the Italian method is the next step. This involves making a hot sugar syrup (heated to exactly 118 degrees Celsius) and pouring it into the egg whites while whisking. This creates a much more stable meringue that is less sensitive to over-mixing and humidity. However, it requires a candy thermometer and more advanced coordination.
The Maturation Secret
A common mistake among beginners is eating the macarons immediately after they cool. In reality, a fresh macaron shell is often too crunchy and dry. The 'real' macaron experience happens after maturation. Once you have filled the shells with ganache or buttercream, you must place them in an airtight container and leave them in the refrigerator for 24–48 hours. During this time, the moisture from the filling seeps into the shell, creating that perfect contrast of a thin, crisp exterior and a melt-in-your-mouth interior. In my experience, a macaron eaten on day two is 100% better than one eaten on day one.
Troubleshooting Advanced Issues
- Oily Shells: This usually happens if you over-process the almond flour in a food processor, releasing the natural oils. Mix by hand or sift instead.
- Lopsided Feet: This is often caused by uneven heat or a fan in a convection oven that is too strong. Try baking with the convection setting turned off or using a double-layered baking sheet to insulate the bottom.
- Browning: If your white or light-colored shells are turning brown, your oven is too hot. Lower the temperature by 5–10 degrees and increase the baking time by 2 minutes.
Summary and Next Steps
To succeed in making macarons, remember these three key points:
Use a digital scale to ensure the 100g egg white to 110g almond flour ratio is exact.
Master the macaronage by stopping as soon as the batter flows like slow-moving lava.
Respect the drying time until a firm skin forms on the shells to ensure the feet develop properly. Your specific action to take today is to separate your egg whites into a clean glass bowl, cover them with plastic wrap with a few holes poked in it, and let them 'age' in the refrigerator for 24 hours. This slightly dehydrates the whites and relaxes the proteins, which in my experience leads to a much more stable meringue and a more successful bake tomorrow. Once you have aged your whites, proceed with the sifting and whipping steps outlined above.
Previous
Cheonggukjang Jjigae for Dieters: Healthy Twist on a Korean Classic
Next
Macaron Baking Guide: Master the French Technique at Home
More in Recipes
Easy 5-Ingredient Pork Suyuk: The Ultimate High-Protein Diet Recipe
Discover a simple 5-ingredient Korean boiled pork (Suyuk) recipe that takes just 50 minutes. Perfect for a high-protein, low-calorie diet that keeps you full.
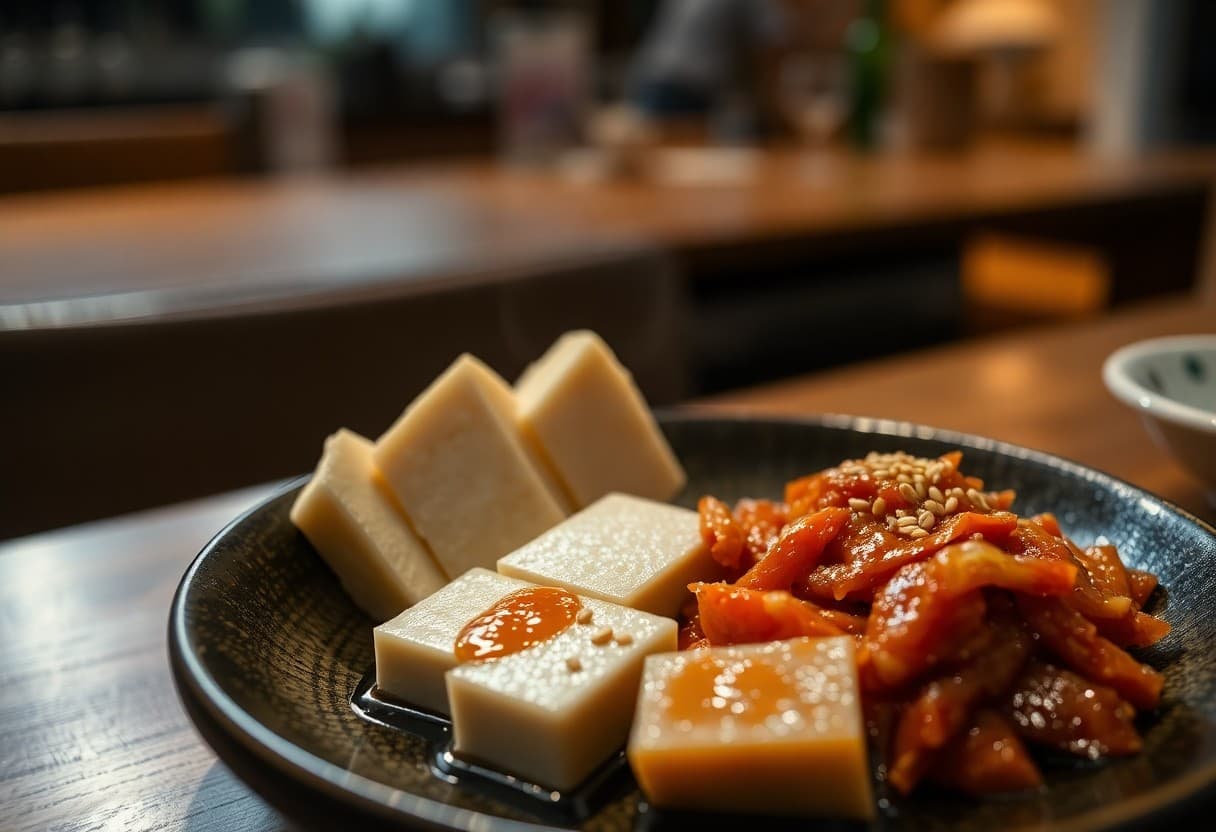
Tofu Kimchi Recipe: Quick Ways to Use Fridge Leftovers
Learn a simple Tofu Kimchi recipe to clear out your fridge. Discover freezer-friendly meal prep tips, common beginner mistakes, and quick cleanup hacks.
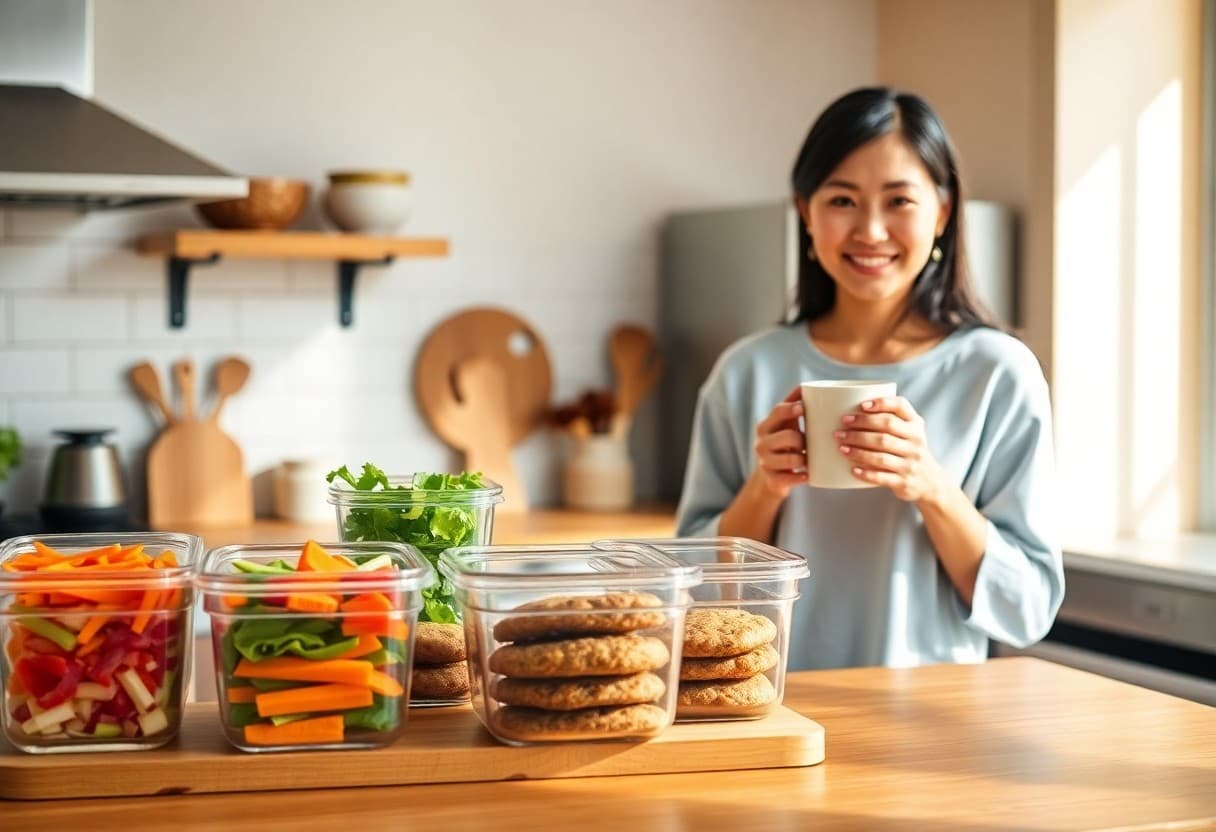
Vegetarian guest hosting recipes you can prep on weekends
Vegetarian guest hosting recipes made easy. Learn how to prep plant-based dishes on weekends, freeze them safely, and master smart ingredient substitutions.
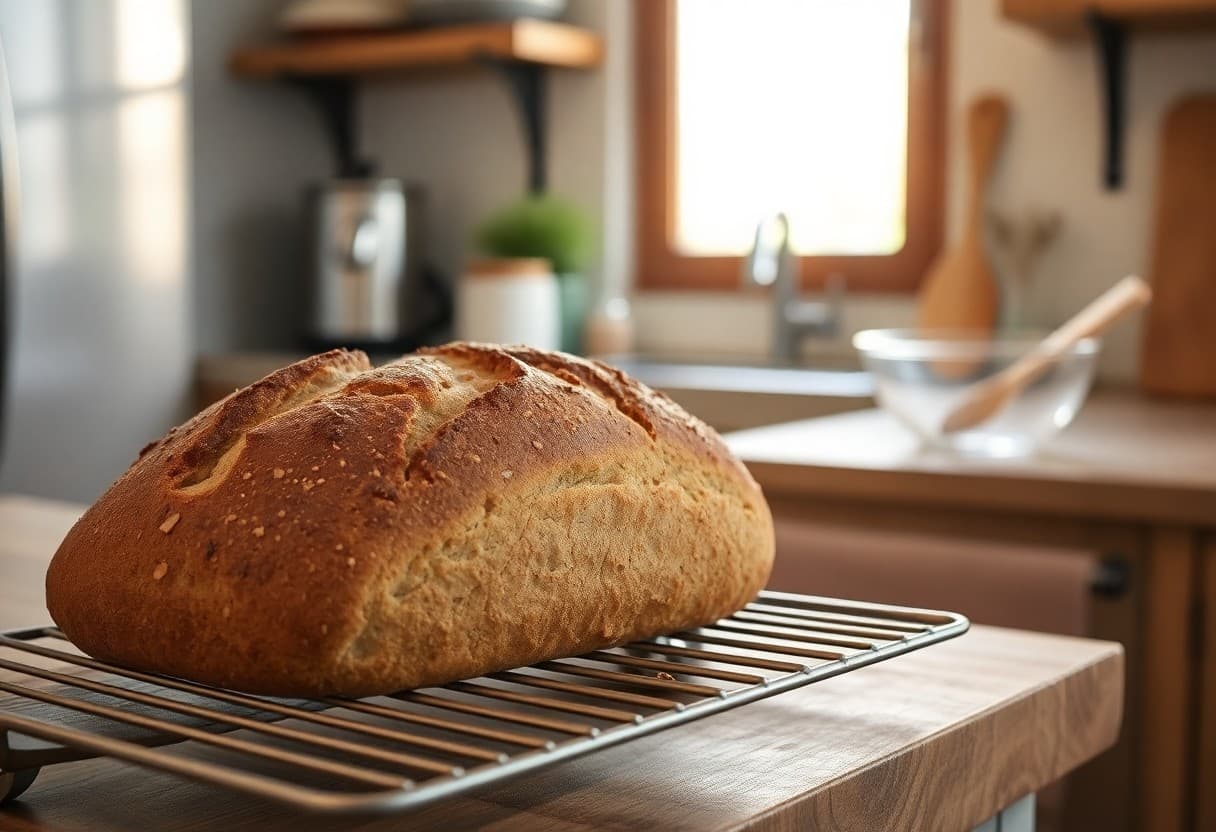
How to Bake Bread in a Small Kitchen with Minimal Cleanup
Learn how to bake homemade bread in a small kitchen with minimal cleanup. This guide covers no-knead methods, diet-friendly tips, and office lunch ideas.