East Coast USA Backpacking Prep: Essential Packing Strategies
Key Takeaways
Planning an East Coast USA backpacking trip? Discover essential packing tips, common pitfalls, and smart strategies for navigating diverse cities and climates efficiently.
East Coast USA Backpacking Prep: Essential Packing Strategies
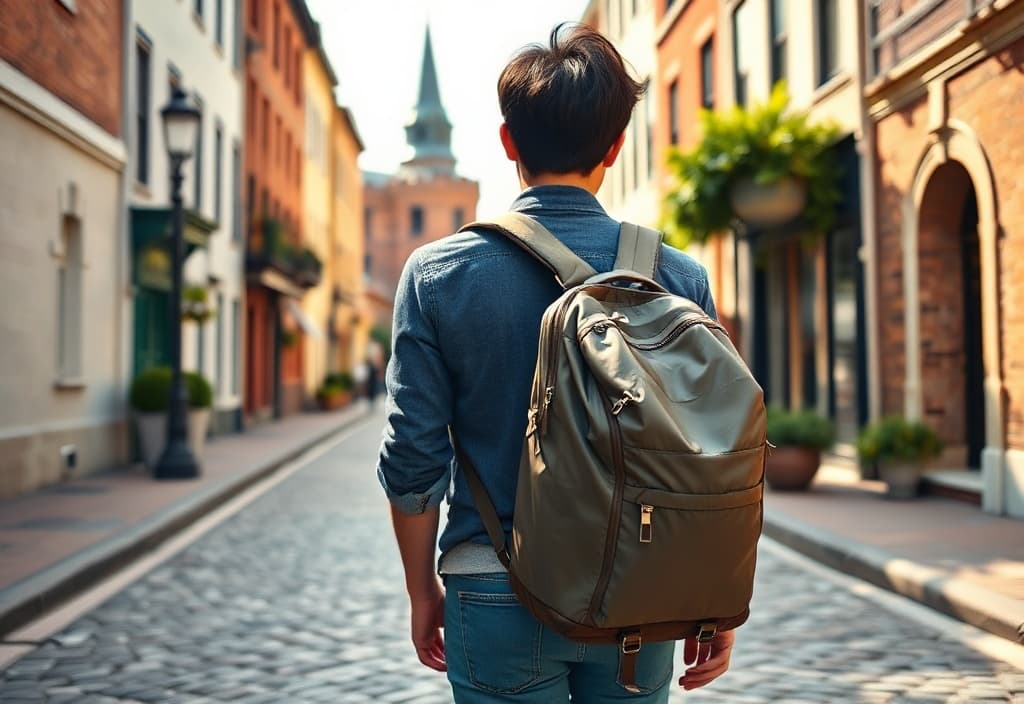
Honestly, I used to hate packing for any trip that involved more than one climate zone. I'd either overpack, lugging around a suitcase full of 'just in case' items, or underpack, shivering in a thin jacket when an unexpected cold front hit. This was especially true for the East Coast of the USA, a region I've come to know well through various family adventures and even a few solo explorations. I spent years thinking a 'one-size-fits-all' packing list would work, and I was wrong. The reality is, preparing for an East Coast backpacking trip requires a nuanced approach, acknowledging the vast differences in weather, terrain, and urban vs. natural experiences you'll encounter from Maine to Florida.
The Challenge: Why East Coast Packing Can Be Tricky
Backpacking the East Coast of the USA presents a unique set of packing dilemmas that often catch travelers off guard. The primary problem stems from the sheer geographical and climatic diversity of the region. You might start your journey exploring the historic streets of Boston in a crisp autumn, then find yourself hiking parts of the Appalachian Trail, before eventually soaking up the sun on a beach in Miami – all within the same trip. This means your single backpack needs to accommodate a surprising range of clothing and gear, making efficient packing absolutely critical.
Another common pitfall is underestimating the urban environments. While 'backpacking' often conjures images of wilderness, many East Coast trips heavily feature major cities like New York City, Washington D.C., and Philadelphia. These cities demand footwear suitable for walking 15,000–20,000 steps a day, clothing that's comfortable yet presentable for various venues, and security measures for your belongings. In my experience, failing to plan for these transitions leads to uncomfortable days, sore feet, and the constant internal debate of whether to buy something you already own at home.
What Makes East Coast Packing Different?
The root causes of these packing challenges are multifaceted:
- Varying Climates: The East Coast spans multiple climate zones. A spring trip might mean 5°C (40°F) in New England and 25°C (77°F) in the Carolinas. A summer journey can have stifling humidity in the Mid-Atlantic and cooler evenings further north. This makes layering, rather than bringing heavy specific items, essential.
- Diverse Activities: One day you might be navigating a bustling subway system, the next you could be exploring a national park. Your gear needs to be versatile enough for city sightseeing, museum visits, casual dining, and potentially some light hiking or beach time.
- Accommodation Types: Backpackers often utilize a mix of hostels, budget hotels, and sometimes even camping. Each requires a slightly different set of personal items, from sleeping bag liners for some hostels to basic cooking tools if you plan to use hostel kitchens.
- Limited Luggage Space: As a backpacker, you're limited to what you can comfortably carry. Every item needs to earn its place in your pack. This isn't like a family road trip where you can throw in an extra bag 'just in case' – every kilogram counts when you're carrying it on your back for hours.
How to Build Your East Coast Backpacking Essentials List
The solution to these packing woes lies in meticulous planning, prioritizing versatility, and embracing the 'less is more' philosophy. My approach focuses on creating a modular system that can adapt to different scenarios without adding unnecessary bulk. Here's a step-by-step guide to building your packing list.
1. The Foundation: Your Backpack
Choosing the right backpack is paramount. For a trip lasting 2–4 weeks, aim for a capacity of 40–55 liters. A larger pack might tempt you to overpack, while a smaller one might be too restrictive. Look for:
- Comfortable suspension system: Padded shoulder straps and a hip belt are crucial for distributing weight evenly, especially if you'll be carrying it for extended periods. In my experience, a poorly fitting pack is the quickest way to ruin a travel day.
- Front-loading access: This allows you to open your pack like a suitcase, making it much easier to access items without emptying everything out.
- Durable, water-resistant material: Protects your belongings from unexpected rain showers.
2. Clothing: The Art of Layering and Versatility
This is where most travelers go wrong. Instead of packing outfits, think in terms of interchangeable layers. For a 10–14 day trip, I typically recommend:
- Tops (3–4): Two moisture-wicking t-shirts (synthetic or merino wool), one long-sleeved shirt for sun protection or cooler evenings, and one slightly dressier top (e.g., a button-down or blouse) for city nights. Quick-drying fabrics are non-negotiable.
- Bottoms (2–3): One pair of comfortable, durable travel pants (convertible pants are excellent for hiking and city exploration), one pair of shorts (if traveling in warmer months), and one pair of jeans or chinos for evenings.
- Outerwear (2): A lightweight, waterproof and windproof shell jacket is essential. Layer it over a packable fleece or down jacket for warmth. This combination provides flexibility across a 15–20°C (30–40°F) temperature range.
- Undergarments & Socks (5–7 pairs each): Again, focus on quick-drying materials. Merino wool socks are fantastic for preventing blisters and reducing odor.
- Swimsuit (1): If you plan on visiting beaches or hostels with pools. Warning: Avoid packing heavy cotton items like multiple pairs of jeans or thick hoodies. They take up too much space, take ages to dry, and don't provide efficient warmth for their bulk.
3. Footwear: Your Most Important Decision
Your feet are your primary mode of transport. You'll need two pairs of shoes:
- Walking shoes/Sneakers: A comfortable, broken-in pair of athletic shoes with good arch support is non-negotiable. Choose a pair that can handle miles of city pavement and light trails.
- Sandals/Flip-flops: For hostel showers, relaxing, or very hot days. In my experience, after a long day exploring, slipping into something open-toed is a small luxury.
4. Toiletries and Personal Care
Keep this minimalist. Travel-sized containers are your best friend. A typical list includes:
- Toothbrush and travel-sized toothpaste
- Small shampoo/conditioner and body wash
- Deodorant
- Sunscreen (especially for southern East Coast or summer travel)
- Small quick-dry towel (microfiber towels are ideal)
- Any personal medications (with prescriptions if necessary)
5. Electronics & Connectivity
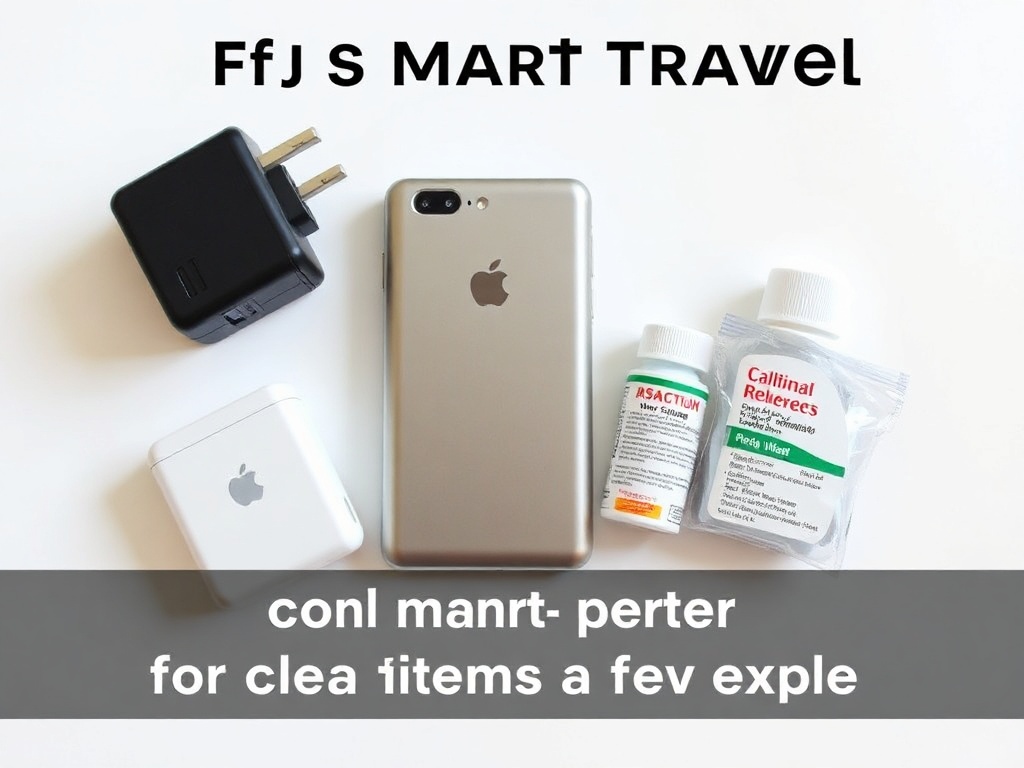
- Smartphone & Charger: Your primary tool for navigation, communication, and information.
- Portable power bank: A 10,000–20,000 mAh capacity is recommended to keep your devices charged on the go. This has saved me countless times when trying to find directions with a dying phone.
- Universal adapter: If you're coming from outside North America.
- Headphones: For entertainment on long bus/train rides or for privacy in hostels.
- Optional: A small e-reader for downtime.
6. Documents, Money, and Security
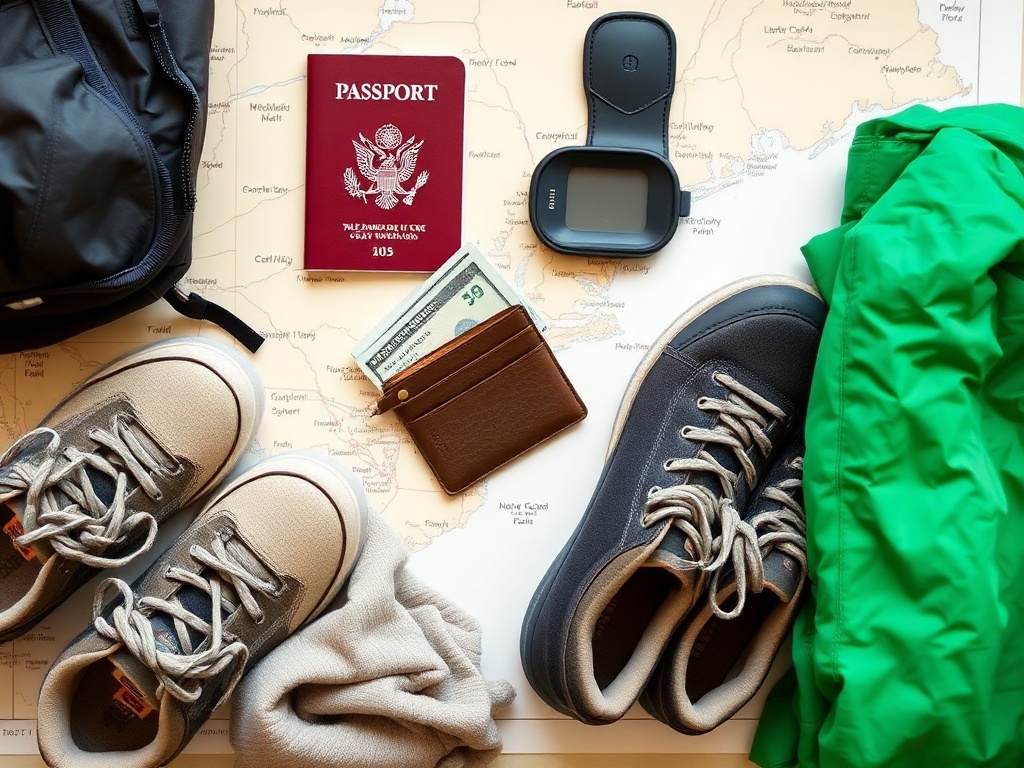
- Passport/ID: Keep copies (digital and physical) separate from the originals.
- Credit/Debit Cards: Inform your bank of your travel dates. Consider having a backup card.
- Small amount of local currency: For immediate needs, though cards are widely accepted.
- Travel insurance: Highly recommended for medical emergencies, lost luggage, or trip cancellations. A recent study by SquareMouth (2023) found that the average cost of a travel insurance claim for a cancelled trip was over $4,000.
- Padlock: For hostel lockers.
- Money belt/anti-theft bag: For peace of mind in crowded areas.
7. Miscellaneous Essentials
- Water bottle: Reusable and collapsible, to stay hydrated and reduce plastic waste.
- Snacks: Granola bars, nuts, or dried fruit can be lifesavers between meals or during long transit.
- Small first-aid kit: Band-aids, antiseptic wipes, pain relievers, blister treatment.
- Eye mask and earplugs: Crucial for light sleepers in hostels or on transport.
- Reusable shopping bag: For groceries or souvenirs.
Beyond the List: Smart Packing Strategies & Common Pitfalls
Having a list is one thing; packing intelligently is another. My family trips have taught me the importance of maximizing space and minimizing hassle, principles that translate perfectly to solo backpacking.
What Readers May Miss: The Hidden Costs of Poor Packing
Many travelers focus solely on what to bring, overlooking *how
- they pack it or what they're leaving behind. The 'hidden costs' can be significant:
- Lost time: Searching for items in a disorganized bag, buying replacements for forgotten essentials.
- Lost money: Paying for overweight baggage, purchasing items you already own at inflated tourist prices.
- Lost comfort: Carrying an unbalanced or too-heavy pack, wearing uncomfortable shoes, being unprepared for weather shifts.
- Lost flexibility: Being tied to a specific wardrobe that doesn't allow for spontaneous changes in plans or activities. Consider the average baggage fees. While backpackers aim to avoid checked bags, if your backpack somehow exceeds carry-on limits (typically 7–10 kg for many airlines), you could face a fee of $30–$60 per flight, quickly adding up over multiple legs.
When This Advice Might Not Fit
While this guide provides a solid framework for the average East Coast backpacking trip (e.g., 2–4 weeks, mixing cities and light outdoor activities, budget-conscious), it might not be a perfect fit if you plan:
- Specialized Adventure Sports: If you're doing serious mountaineering, multi-day backcountry trekking, or diving, you'll need additional specialized gear not covered here.
- Luxury Travel: If you plan on staying in high-end hotels and dining at Michelin-starred restaurants, your clothing needs might lean towards more formal attire.
- Long-Term (3+ Months) or Relocation: For extended travel, you'll likely need a larger pack and a different approach to resupply and replacement of items.
- Specific Medical Needs: Always consult a medical professional for advice on packing any specific medical equipment or medications.
Key Decision Criteria for Every Item
Before packing anything, ask yourself these three questions:
Versatility: Can this item serve multiple purposes or be worn in different scenarios? (e.g., pants that can be dressed up or down).
Weight & Bulk: How much does it weigh, and how much space does it occupy? Is there a lighter, more compact alternative? Aim for your packed backpack to be no more than 10–15% of your body weight.
Necessity: Is this truly essential, or is it a 'just in case' item? Consider if you can easily buy or rent it at your destination if absolutely needed, rather than carrying it for weeks.
How to Prevent Recurrence: Pre-Trip Checks and Adaptability
To ensure you don't fall back into old packing habits, incorporate these preventative measures:
- Practice Pack: A week or two before your trip, do a full pack. Put on your loaded backpack and walk around for 15–20 minutes. If it feels too heavy or uncomfortable, it's time to re-evaluate.
- Lay Everything Out: Before anything goes into the pack, lay all your intended items on your bed. This visual helps identify redundancies or unnecessary additions.
- Digital Copies: Scan or photograph all important documents (passport, travel insurance, bookings) and save them to a cloud service (e.g., Google Drive, Dropbox) and email them to yourself. This provides a backup in case of loss or theft.
- Check Weather Forecasts: While layering accounts for some variability, check the 10-day forecast for your initial destinations a few days before departure. This can inform minor adjustments to your outer layers.
- Embrace Flexibility: Even with the best planning, things change. Be prepared to adapt, buy a cheap umbrella if unexpected rain hits, or do laundry more frequently than planned. The East Coast is an incredible region to explore, and a well-packed backpack allows you to fully immerse yourself without being weighed down by worries.
Conclusion
Preparing for an East Coast USA backpacking trip is less about simply filling a bag and more about strategic planning, thoughtful selection, and a commitment to efficiency. The key takeaways are to prioritize versatility and layering for the diverse climates, choose comfortable and multi-purpose footwear, and minimize electronics and toiletries to reduce weight. By focusing on these principles, you'll create a packing list that supports your adventure rather than hinders it. Don't let the fear of overpacking or underpacking hold you back. Your next step should be to grab a pen and paper – or open a digital note – and start drafting your own personalized East Coast packing list today, thinking critically about each item's purpose and weight.
Previous
Weekend Water Sports in Korea: Top Spots for Beginners
Next
East Coast USA Backpacking Prep: Essential Packing Strategies
More in Travel

Slow Travel with Pets: A 4N5D Low-Walking Guide to Gangneung and Yangyang
Plan a relaxed 4-night, 5-day pet-friendly trip to Gangneung and Yangyang. Discover low-walking itineraries, budget tips, and safety checklists.
1N2D Couple's Travel: The Ultimate Food Allergy Survival Guide
Plan a safe 1-night, 2-day couple's trip abroad. Learn how to manage food allergies using public transit, prepare emergency cards, and build a backup plan.

Hanok Stays: Easy Transit Solo Travel Guide
Discover charming Korean Hanok stays accessible by public transit. Prioritize pace and ease on your solo or friends' weekend trip, avoiding car dependency.

Sick child during overseas travel: Managing care and costs
Learn how to manage a sick child during overseas travel when peak season bookings are full. Discover emergency alternatives, cost-saving tips, and next steps.